Showing posts with label dyeing wool. Show all posts

Saturday, November 15, 2025

Red Socks

Three years ago I dyed two different colorways of sock yarn for my mother as part of my Christmas present for her. Unfortunately, as she is getting old, she is already 80, knitting is difficult for her and she never knitted the yarn I gifted her. 

I really can't stay idle, so during my visit in early autumn I took out one of the yarns and started knitting a sock. I finished the sock during my next visit and took the remaining yarn and needles with me, to finish the pair in Sofia.

The pattern I used is my usual most simple recipe. I cast 11 stitches on each needle for a toe-up sock, using Judy's magic cast-on. Then I gradually increased to 58 sts, forming the toe of the sock and then I continued knitting in the round, until I reached the heel of the sock.

For the heel I used the Fish Lips Kiss Heel method, which produces a nice round heel. I finished the socks with a long 1x1 rib and Lora's stretchy cast-off. As my yarn was divided into two equal parts before it was hand-dyed, it was easy to make the second sock exactly the same as the first.

Pattern: Red socks (personal pattern)
Yarn: Alize Superwash, hand-dyed, 50 g
Needle: 2.5 mm circular
Time to knit: a couple of days with big intervals in-between

I finished the socks some days ago, but kept postponing the photosession. And as it turned out - for good reason. Yesterdays hike to Pchelina provided us with the perfect background for these colorful socks. I intend to give them back to my mother next time I visit and probably knit the second pair of sock yarn I had gifted her three years ago.


Sunday, June 28, 2020

Yellow socks


I knitted another pair of socks, with hand-dyed yarn, naturally :)
We took pictures of the socks yesterday, during our hike on Rila. I almost forgot about the photosession and the socks would have stayed tucked away in my backpack, which would have been a shame. Luckily, there were many lakes along our way and we had a very long hike, so almost any time it occurred to me to take pictures, there was a postcard scenery awaiting to be taken advantage of :)


I had 10 g sock-yarn remnants from another pair of hand-dyed socks. As I loved the yarn, I wanted to use it up and pair it with a matching hand-dyed yarn. I decided to play with the yellow in the tropical yarn, so I dyed a ball of white sock yarn in three shades of yellow-orange, using the low immersion twisted skein method. What this means - I prepared a dye bath first with a lemonade shade of yellow, twisted the presoaked skein and dipped it in the dye bath until the dye was exhausted. Then I took out the skein, untwisted it, let it cool and twisted it again. Dipped it in orange-yellow and let it soak the dye. And then again repeated the process with the last shade of color - orange. To make sure that the dye was well fixed, I then heated up again the dyed skein in the microwave for a total of 2+2 minutes.


As both of these yarns - the tropical 10 g and the white 35 g, were remnants from other socks, the resulting socks are short, with small cuffs, but I think the combination works really well and the socks were worth making. I used my favourite recipe for toe-up socks, 58 stitches, FLKH, Lory's twisted bind off.


Pattern: Yellow socks (personal pattern)
Yarn: Alize Superwash, hand-dyed, 45 g
Needle: 2.5 mm
Time to knit: 5 days


Sunday, November 12, 2017

Biker Chick Imitation Yarn


For my new yarn dyeing I chose the colorway of one of my favourite yarns - Miss Babs Biker Chick. The yarn is far beyond my yarn budget and I've only seen it on photos, but I love the contrast between the warm orange and the cold grey and black.


The dye technique I used is fairly new to me and proving to be my favourite - literally painting the yarn drop by drop, eyeing the end result, retouching and overlaying colors until I get it as I want it. For this yarn I used two yellows, one red and one orange dye for the warm colors and a grey and black dye for the dark colors.


Then I wrapped the yarn in a foil and microwaved it for a total of 6 minutes. The results are quite satisfactory - the dye didn't leak to the neighboring sections and the whites stayed white, the dye bled almost none when I washed it afterwards and this process is much more tender to the yarn as it gets almost no manipulation compared to kettle dyeing. This is definitely my technique of choice for multicolor colorways.


And I reskeined the yarn to show how the colors would mix during knitting.


It looks so great in the ball, I should buy a cake winding machine, even if only to show off my hand dyed yarn :)

Wednesday, April 12, 2017

Études In Sea Green


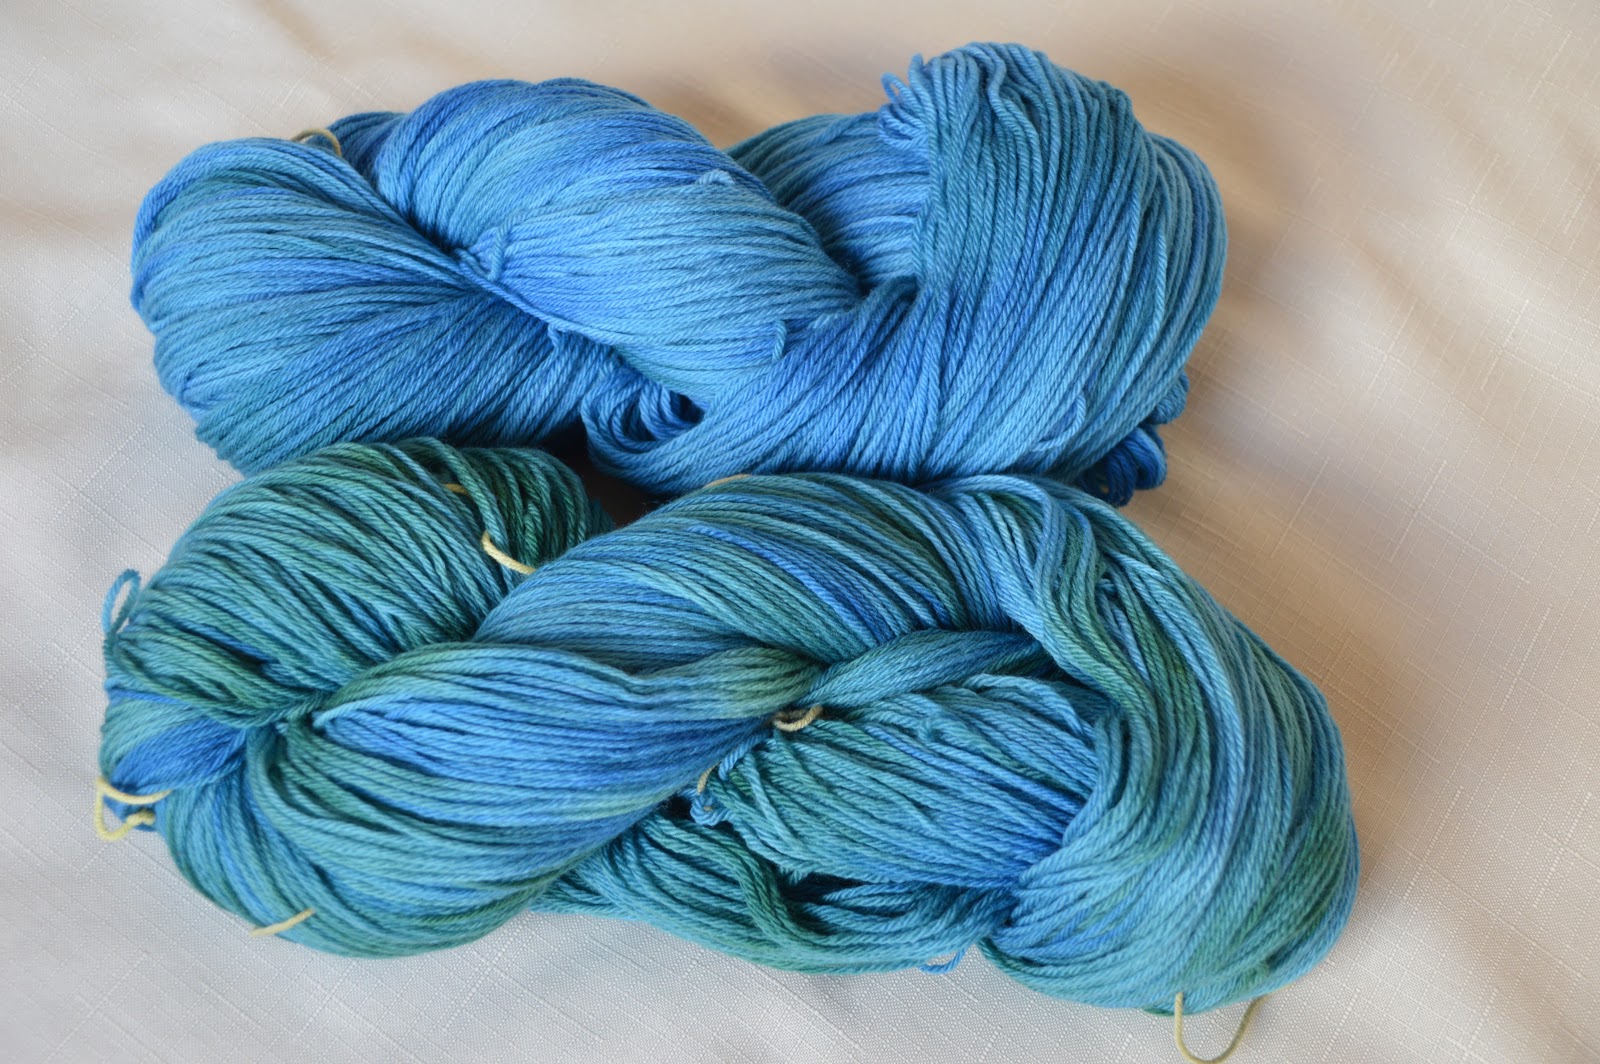
My further experiments with wool dyeing. Last month I ordered 500 g of Italian bobbin merino extra-fine. A friend asked me to dye some yarn for her and as I wanted to experiment with dip dyeing, I made for her 200 g of dip dyed turquoise merino.


200 g is the optimal quantity I can dye in my designated pot. I wound the yarn in a long skein, prepared the hot dye mix of blue and a touch of yellow in a big plastic bottle and gradually dipped the yarn in the dye. Then, after most of the dye was in the yarn, I fixed the dye in hot water with added salt and vinegar for 1 hour and let it cool for another hour.


The result is pleasing, the yarn is very soft, I hope she would knit something nice out of it.


A few days later I wound the remaining 300 g into two skeins of 150 g each and dyed them, using my usual distributed method, with the turquoise mixture and pure blue. However I must have failed to stir well the turquoise mixture, as the second skein turned our much greener than the first one.


As I intended to alternate skeins anyway, I hope this wouldn't be much of a problem.


I intend to knit a cardigan or a sweater out of it in garter stitch, I made a small sample and I like it. So far I've narrowed my choice to Ysolda Teague's Vine Yoke Cardigan, which I've already knit in cotton/acrylic and love, and Hanako -  simple but pleasing free pattern on Ravelry by a designer, who's work I'm currently admiring - Tian Foley.


Tuesday, February 2, 2016

WIP - Poncho by Bergère de France


This is my current project, that I've been working on very slowly for two weeks now - Poncho by Bergère de France. I'm knitting it with my Baby Alpaca cone yarn on 4.5 mm circular needles. The first rows of 384 stitches, approx. 260 cm long, gathered on 60 cm circular needle were a torturous slog, but it's a breeze now. So far my modifications - as many others on Ravelry, I modified the pattern to knit it in the round. In the original it is knit in two parts, which are then sewn together - completely unnecessary. And knitting in the round makes it possible to purl all the time, which is my preferred method of knitting, as I knit with the yarn held in front. For this purpose I knit it from the wrong side and of course I had to modify the cables, so that they would appear as per pattern on the right side. i also modified the decreases to be slanting toward the stockinette stitch part, and not in the opposite direction, as is in the pattern.


My gauge was spot on - 16 sts and 22 rows on 4.5 mm, but I cast on 16 sts less - 25 sts for the cable section, but 23 instead of 25 sts for the stockinette stitch sections between the cables. My daughter is slim and only 5'4", so I'm trying to make it smaller than the given dimensions for the S/M size.  I'm almost at the end of Part 1 of the poncho, tonight I intend to put the stitches on a longer cord and try it on on Gaby to determine how long should the poncho be and how to proceed with the decreases. The pattern states a length of 76 cm for the S/M size, but I think 65 cm would be enough, so for Part 2 I'll probably make my decreases on every 6th row instead of every 10th row. 


I cast on with provisional cast on, as I haven't decided yet if I want a curling Stockinette stitch end or an I-cord. I'll pick up the stitches and cast them off, meanwhile adding the cuffs seamlessly to the body. The yarn - it's very soft and warm, this will be a very toasty poncho, it's a pity I didn't start it earlier to be ready for the cold January days, but there'll be other winters too :))


And something else - I hadn't dyed yarn for more than a year. This is a skein of white 100% wool, 100 g = 220 m, dyed with yellow, red and brown acid dyes for wool and silk. The color is slightly nuanced burnt orange / brick, which I love so much. I'm planning a pair of cabled legwarmers / boot cuffs for Gaby, they'll be a nice break from the monotonous work on the poncho.


Tuesday, October 28, 2014

Midnight Dyed Cashmira

I played with the yarn dyes again this Sunday and dyed two balls of Cashmira Fine classical unbrushed pure wool. The original color was snow white number 55.


This time I experimented with four colors - red, blue, violet and purple. The color came very dark and mostly deep midnight purple with reddish-brown and blue nuances. It is actually darker than on these photos and the variations are not that noticeable, especially in the evening, but I think it's still interesting.


Next time I want to try mixing only purple and violet in much lighter tones, probably some blue too, but the red was a bit redundant.


I tried a small sample to figure out what to do with it. It's only 200 g, but the yardage is almost 1000 yds, so it might be enough for a small light cardigan or a 3/4 sleeved sweater.


Meanwhile winter stepped in and for two days we were covered in snow. Most of it melted today, but it's cold, the winter boots and jackets are already out, hats, scarves and gloves are inspected and distributed and new winter accessories are planned.


And the house smells of apple pies and cinnamon. This one I made today using a recipe from procurora's blog. It came out very delicious, light and juicy with apple pieces and walnuts inside and very crispy crust outside.


Saturday, January 18, 2014

Old Gold


In my stash I had three balls of beige YarnArt Pure Merino, which I had bought specifically with the intention of dyeing them in yellow. At first I considered dyeing with turmeric, but after extensive reading and some experiments I can confirm, that the yellow color, gained with turmeric, vanishes when exposed to direct sunlight within a few days. So I bought a package of yellow and tobacco acid dyes for wool. And let the idea mature for a while.
Then, late on Wednesday night, having sewn the last of the buttons to Gaby's new black & white cardigan (photo session later next week), I found my hands idle and decided to unwind the yarn and prepare it for dyeing. I knew it was late, I was tired and embarking on a time-consuming and demanding task like dyeing a sweater worth of expensive yarn that late in the day would not be advisable. And then that's exactly what I did ☻!


I prewashed the yarn and soaked it in vinegar solution (1:5 approx.). Meanwhile I boiled 2 l of water in an old pot I have allotted for dyeing experiments, adding appr. 50 g of vinegar and 40 g of salt to the water.
Then I prepared three plastic containers with diluted tobacco dye, yellow dye and a mix of tobacco and yellow. Using my kitchen scales, I poured exactly one-third of each dye into three smaller disposable plastic cups.


And then I proceeded to dyeing each of the skeins individually, trying to replicate the dye distribution as exactly as possible to gain equally dyed skeins. I spread the skein on a big tin, covered with foil and  distributed the three dyes. I did not make a proper sample of the dyes and the tobacco dye turned out to be too dark and I did not like the look of it, so I made a new concentrated solution of yellow dye and added one-third of it to the hot water.


Then I placed the skein into the hot (but not boiling!) yellow water (containing vinegar, salt and yellow dye) and let it soak until the water was clear.


At all times I tried to keep the temperature of the water around 70C. When the water was clear, I transferred the skein together with the hot water into a plastic basin (to free my only dyeing pot) and repeated the whole process again and then once again. Of course, it was quite past midnight when I finished with the third skein and I was pretty tired and angry with myself for messing the tobacco dye (sad face).
I had to wait further for the yarn to cool, then I washed the skeins, soaked them in hair conditioner (another unsuccessful experiment, because it made the yarn bleed) and hung the skeins to dry in the bathroom.


The next day I considered redyeing the yarn with a touch of red to give it a brick tint, but then abandoned the temptation and decided to knit it as it was. If the end result is not pleasing, I can always get some dark brown dye and cover my dyeing mistake.


Today I started the back of a cardigan. I've read recommendations to alternate skeins to get even results, but I opted for knitting from one skein at a time. I inspected the skeins carefully and to me they look the same. I hope one skein (280 m) will suffice for the back, one for the two fronts and one for the two sleeves and thus, even if the skeins differ in color, it shouldn't be noticeable in the resulting object.


In conclusion: the dyeing method works fine, but I need to fine tune the process. I need to do further research on why the soaking in hair conditioner solution led to bleeding and is it yarn-specific or does it depend on the conditioner type and brand. Although the dye instructions explicitly do not require mordant, next time I might try mordanting the yarn in advance. I need to do better sampling of the dyes and, of course, to plan in advance and bridle my impatience.