Sunday, August 31, 2014

Plum Pie - Three Takes


Yes, I'm afraid the family has been living on plum pies these days :)))
First the recipe, to get it out of the way. I believe by now I know it by heart :)
Origin - Labrex


Ingredients:
  • 2 eggs
  • 180 g milk
  • 50 g oil
  • 200 g flour
  • 200 g sugar
  • 5 g baking powder
  • vanilla
  • plums

Beat the eggs with the sugar, add the oil and the milk. Sift the flour with the baking powder and add to the batter. Spice with vanilla. Pour the batter in a baking dish, arrange the halved plums on top and bake in a preheated oven at 180C until the tooth pick test indicates that it is ready. Preparation time - less than 15 minutes.


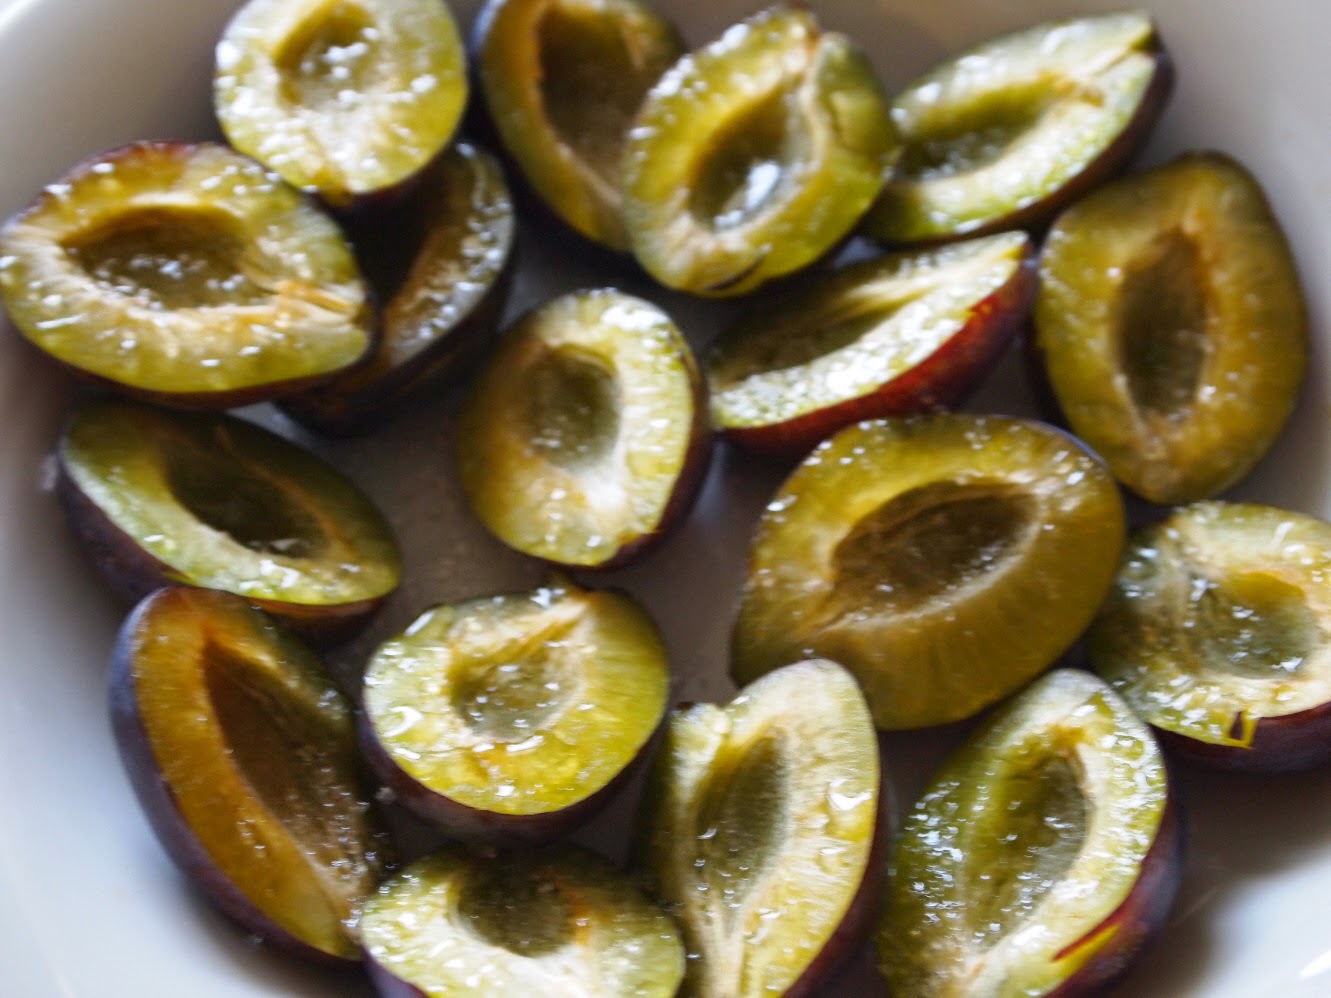
And now the story. I read the recipe and decided to try it, as I love plums. I bough half a kg of round plums of a variety that are usually very juicy and sweet. However, mine turned out extremely sour, like wild plums. I baked the pie in my smaller baking dish, that I usually use for pies (24 cm). The pie had a very delicious crisp crust and was super juicy, but the center was a bit sodden and the plums were too sour. I liked it, especially the crust, but it obviously needed improvement.


So, I decided to try it again with a different variety of plums and my bigger baking dish. I bought only a handful of plums as they looked very small and unripe and there weren't any other plums in the supermarket. However obviously appearances are misleading as they turned out to be very sweet. I also added more flour - 240 g. The second pie was perfectly baked, tasted like sponge-cake but the plums were insufficient and it didn't have the crisp crust of the first pie.


Wild flowers bouquet picked from the small stadium we've been jogging lately (have to burn all these pies :))))


Yesterday I made a third attempt - I added only 200 g flour as in the first pie and as many plums as I could stick in and baked it again in the big dish. I also filled the plums with vanilla sugar and the house smelled divinely while baking. This pie has the same sponge-cake structure as the second pie, again without the crisp crust, but is more juicy because of the more plums. Hubby likes it so much that I had to struggle with him to take a few pictures of the baked pie :)))


OK, I think I'm done with plums, maybe I'll try figs or pears next time.


Update: I tried the same recipe today with fruit salad - a peach, a pear and a handful of plums, cut into pieces and spiced with vanilla sugar.


Divine, probably the best so far! However, the pear does stand out as the most sweet and delicious of all, so undoubtedly a pear pie would be a smashing success.

Saturday, August 30, 2014

Sweet Round Bread


This is the slightly sweet round bread I baked last night. I'm putting down the recipe because I'm very bad at keeping notes and sometimes links to internet sources tend to be unreliable. On several occasions these days I tried to follow links I've saved only to find that the authors have removed the contents I've been looking for. The dough is based on this recipe here.

 Ingredients:
  • 10 g fresh yeast
  • 1/4 cup of sugar
  • 1/4 cup of oil
  • 1/2 cup of warm water
  • 1/2 cup of milk
  • 1/2 teaspoon of salt
  • 1 egg + 1 egg white (1 yolk + tsp milk for the glazing)
  • 4 1/2 cups of flour

Mix the milk and the warm water. In a small  bowl mix the yeast with 4-5 tablespoons of the diluted milk, 1 teaspoon of sugar and 1 teaspoon of flour. Leave the starter to rise for 20 min. Meanwhile in a big bowl sift the flour, add the eggs, the sugar, oil, salt and milk + water. Add the starter. Knead the dough.


Leave it for an hour to double its volume. I put it in the oven at 50C. Knead the dough again. This time I used a different method for kneading - picking the ball of the dough and throwing it to the table for 100 times (I counted :))). Cut it into three equal balls and spread the balls flat. Place the flat circles on top of each other and cut into eight pieces some 2-3 cm from the center of the circle. Cut each piece into three and braid. Leave for about 30-40 min to rise again. Thus there are three risings of the dough which makes it very fine and thready.


Glaze, sprinkle with sesame seeds and place in a preheated oven at 180 C. Bake until the crust turns golden brown. (Do as I say and not as I do :)) - I got distracted and overbaked mine a bit.)


This sweet bread is perfect with honey, but the boys tried it with white cheese and claim that it's as equally delicious.

Friday, August 29, 2014

Pear Jam


I made another batch of jam jars, this time preserving red pears. As incredible as it may sound, this is the first time I see this variety of pears, though I'm not sure what it is. But they were very tasty and the jam came out quite sweet.

For this batch:
  • 1.5 kg of cleaned cut pears
  • 750 g of sugar (next time I would add less, these pears were really sweet)
  • 1 teaspoon of citric acid
  • 3 tablespoons of cognac


As you may have noticed, I prefer not to use pectin as a jellying agent, as I don't like the taste it gives to the preserves. However, I wouldn't shy from using pectin for preserving soft and delicate fruit such as berries or figs, as with pectin you can only boil the fruit for a few minutes and prevent them from becoming too squashy.


My preparation procedures were as usual - I cleaned and cut the pears, covered them with sugar and left them in the fridge for the night. On the following day I brought the fruit to boil for a few minutes and left it to cool on the hot plate for a few hours. Then I smashed the pears a little with a hand blender and cooked them at moderate temperature for about an hour until the jam thickened. Then I added a teaspoon of citric acid and cooked for 3 more minutes. Just before I took the pan off the plate I added three tablespoons of Greek cognac, stirred and poured the jam into the clean, dry jars. I don't know if it's the pears or the cognac, but this is the best jam I've made so far! The jars were actually four but to my surprise, when I entered the kitchen this morning to take a few shots of the jam, I found the fourth jar almost empty :)))


Friday, August 22, 2014

Edda


I've been thinking of knitting Edda for quite some time. What stopped me were the short sleeves and the lack of buttons. However the best interpretations I saw on Ravelry were without buttons and with elbow length sleeves, so this time I opted to go with the mainstream. The result is a soft and comfortable summer cardigan which can be donned on at home in the evenings or on my way to the supermarket in the morning. Yes, it's mine :), though Gaby is kind enough to pose for this photosession. And because she is such a good girl, I might lend it to her if she wants it :)


Pattern: Edda by Kim Hargreaves
Yarn: Lanoso Alara 50% cotton 50% acrylic, 220 g
Needle: 4 mm
Time to knit: appr. 3 weeks with long breaks


For my version of Edda I followed in the steps of Bunny-B - as my needles were smaller and my gauge quite different, I decided to knit the two fronts and the back together, based on the instructions for the M size and aiming at the S size. For the sleeves I cast on 41 sts and increased to 51 sts, adding one stitch to each side every 10th row, for a total of 60 rows to top shaping.


Peaches


Last year I made a few jars of peach jam and it was such a success with my family that this year I'm making it on an industrial scale :)))
Here's the recipe I'm following this year for a batch of 4 small jars:
  • 1 kg of peaches, cut into small pieces
  • 250 g of plums, cut into small pieces
  • 650 g of sugar
  • 1 teaspoon of citric acid.
Cut the fruit in a saucepan and cover with sugar. Leave in the refrigerator for 12+ hours. I usually prepare it in the afternoon and leave it for the night. Then (on the following morning) bring the fruit and sugar mixture to boil and leave for 3-4 hours covered with the lid to cool. Add 100 ml water and smash slightly with a hand blender (this is the new element I introduced this year - it gives the jam a smoother texture, which is preferred by the children, who love to spread their bread with butter and jam). Boil the jam until thick enough, add a teaspoon of citric acid and boil for 2-3 more minutes. Pour into clean dry jars while the jam is hot.


These are the jars with peaches only


and these are with peaches and plums. I've got another batch with peaches and plums already I made last night. I'm wondering what else I could try to mix with peaches, as the plums turned such a perfect addition.


The jam is very delicious with the home-made bread I've been baking lately - these small loafs were made following the recipe in Eva Toneva's blog:


And we also tried this a bit eccentric dessert - roasted peaches with oats, served with vanilla ice cream. We should've waited for the peaches to cool more, the warmth of the pulp accentuated the acidity of the fruit and contradicted the sweetness of the oats and the ice cream. Hubby didn't like it, Gaby and I did and Alex didn't even taste it. I'll make another try at it today, replacing the olive oil with butter for better taste and refrigerating the peaches a little before serving.


Saturday, August 16, 2014

Wild Raspberry Jam


The woods of Osogovo mountain were abundant with raspberry shrubs and the wild berries were just ripe. On the morning after the big hike the children insisted on picking some of the berries for homemade raspberry jam. I was skeptical, but we actually managed to pick more than a kilogram of berries just skimming a few shrubs.


The berries are small and somewhat sour, but very aromatic.


For this jam I used a very popular method of preparation:
1 kg raspberries
1 kg sugar
1 tsp of citric acid


Place the raspberries in a deep cooking pan and cover with sugar. Leave for 12+ hours in the refrigerator.
The sugar will melt and the raspberries will let out some of their juice. Add one cup of water and boil at low temperature until the jam thickens. Add a teaspoon of lemon acid and cook for additional 2-3 min. Pour hot jam into jars and seal.


I fill the jars with hot jam and then turn them upside down to cool. This picture was taken right after the jars had cooled and you can see the small pockets of air at the bottom, as the jam has not dropped down yet.


Today's breakfast - pancakes with raspberry jam. Yummy! I'm not exaggerating - the first bite transferred me immediately back to Osogovo, this jam is so fragrant!