Sunday, January 31, 2021

Black Grasser T-Shirt

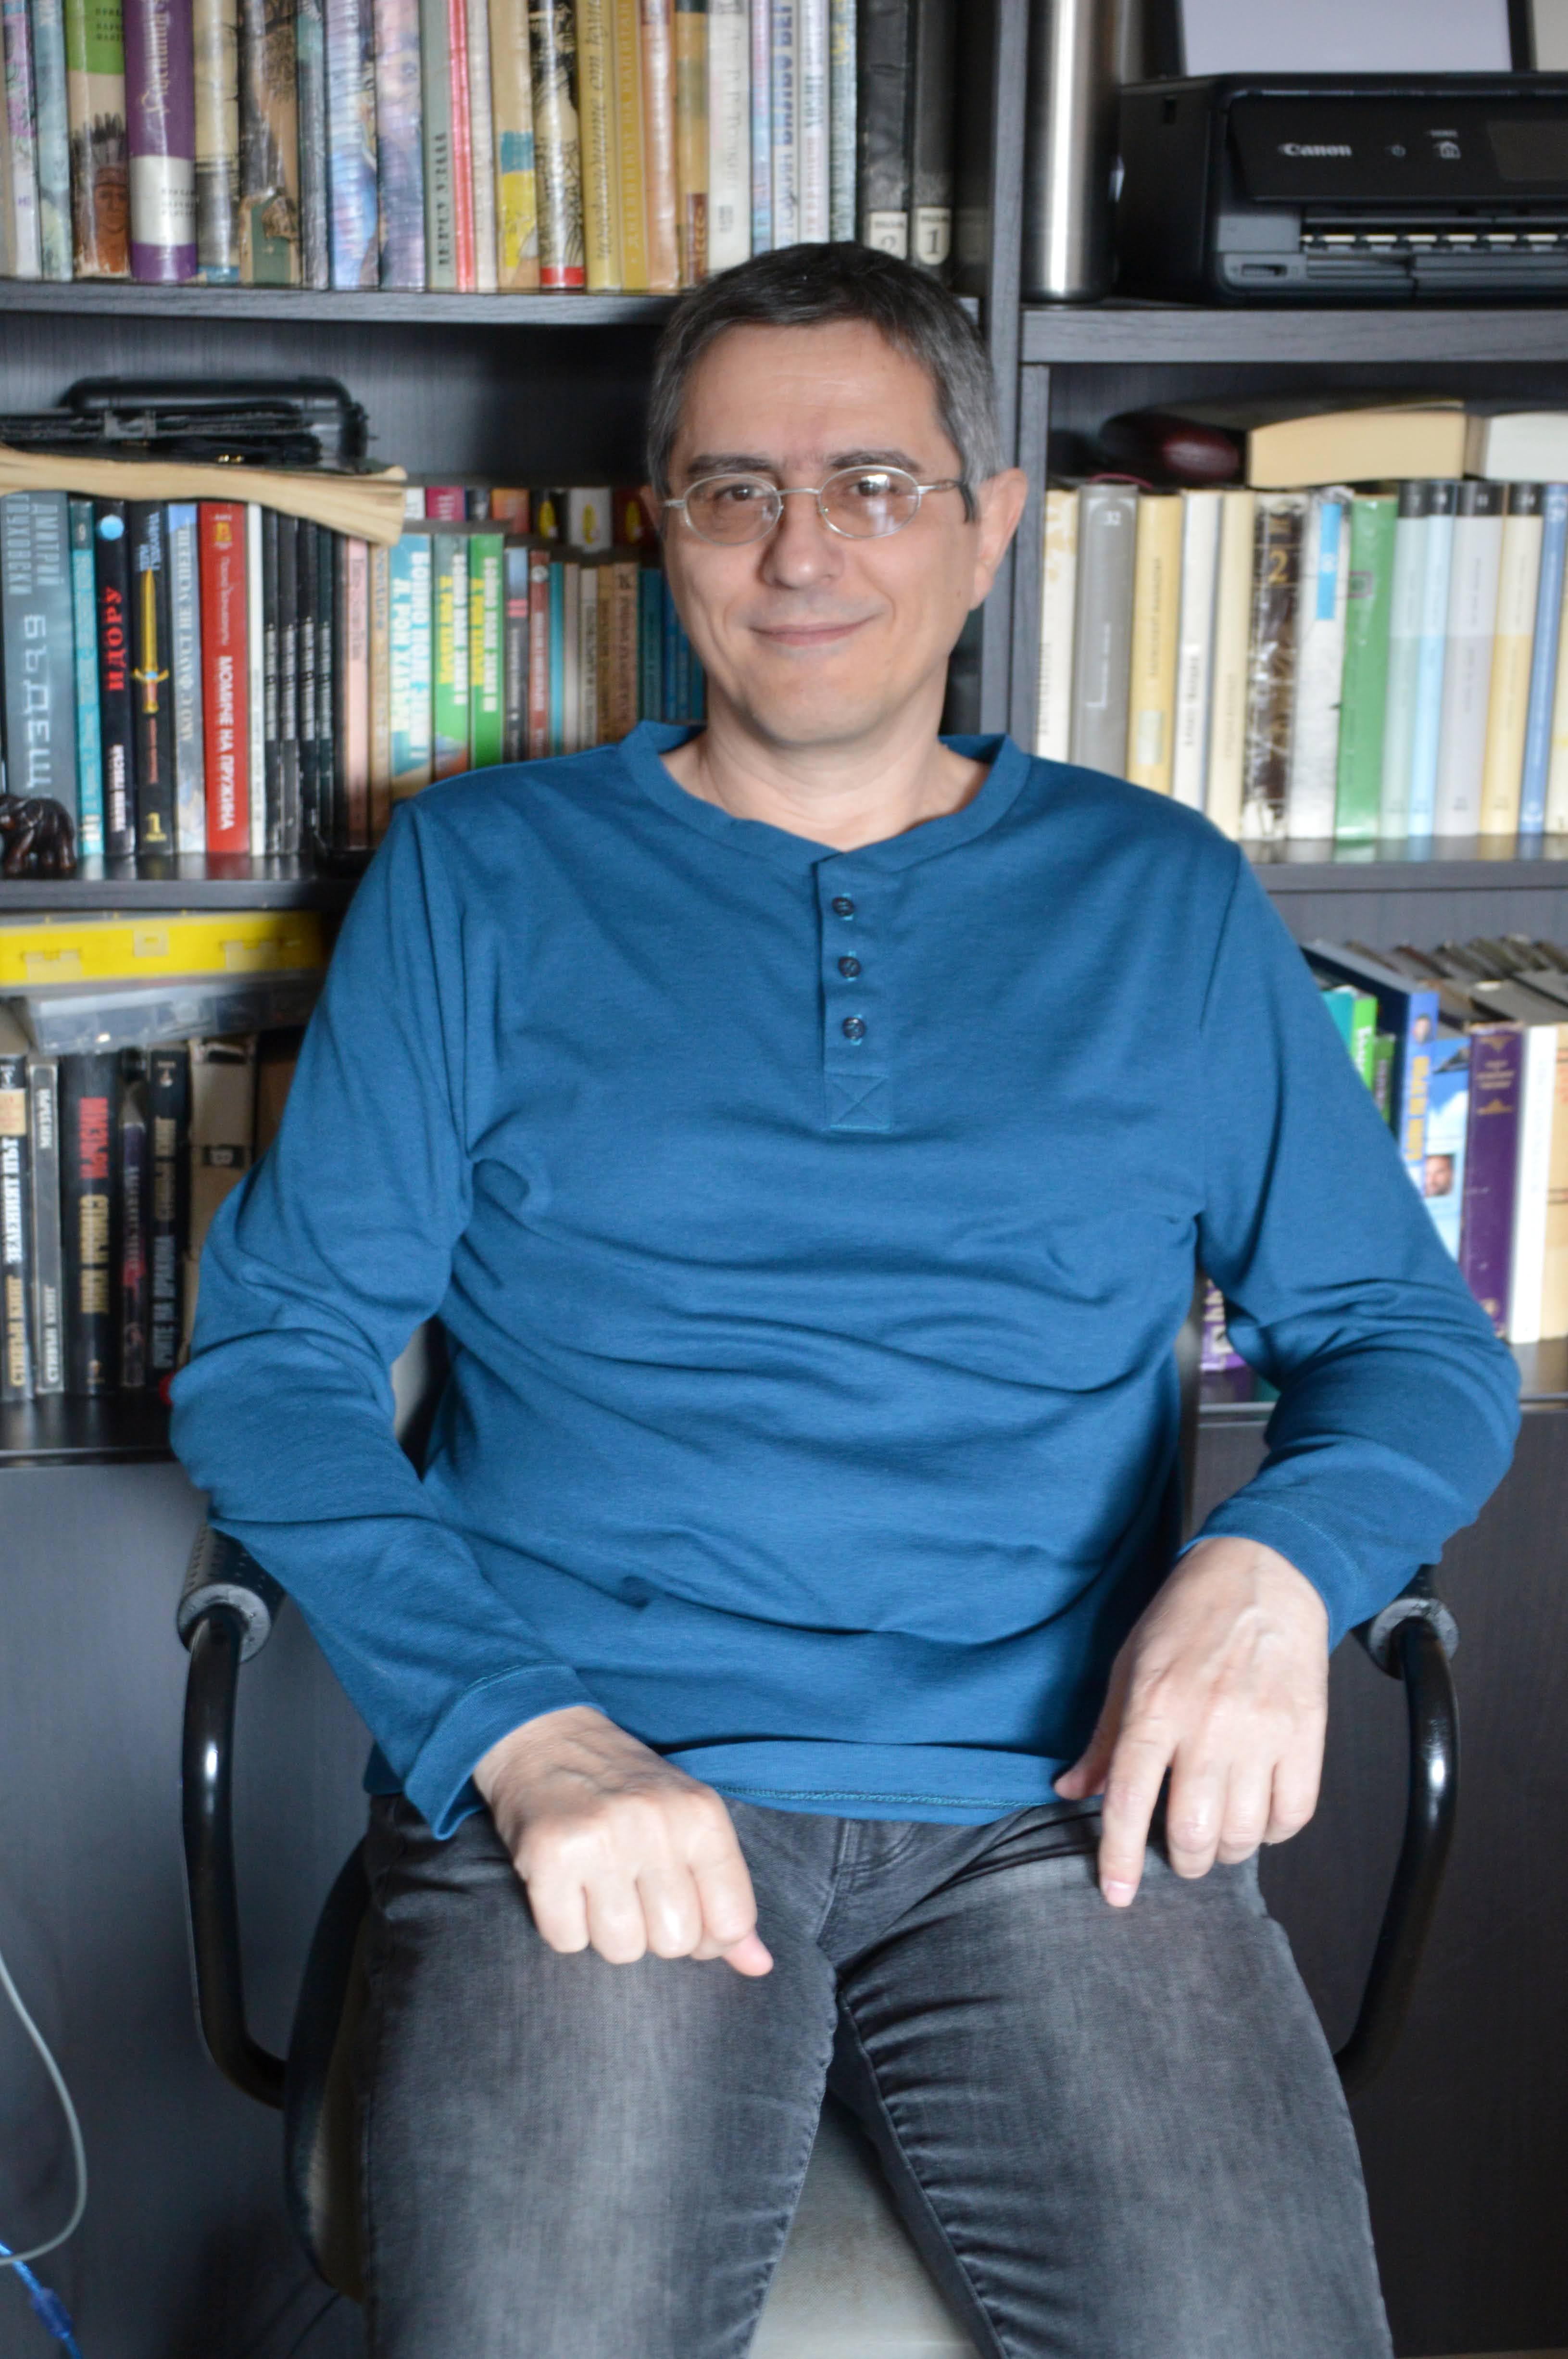
My latest most favourite long sleeve! It is so soft, so warm, I don't want to take it off, ever :)

Recently I became intrigued by another Russian sewing pattern company - Grasser. They have a range of patterns in various sizes AND HEIGHTS, and their cut looks to me interesting and with a more modern vibe. I bought two patterns - a hoodie and a cowl neck sweater and in the end made their free pattern - the T-shirt :)

I had a piece of very soft and drapey brushed cotton double knit and I bought the cowl sweater pattern specifically for it, as the fabric had the exact characteristics for that sweater. However, after I assembled the pattern, I took out and measured my piece of fabric only to find out that it was smaller than I had remembered it - only 62 cm long, so it was only half of what was needed for the sweater. Still, it was a very nice piece of fabric and I was sure I could make something out of it!

And as I still wanted to test the new company, I downloaded their free T-shirt pattern. I chose size 40 (xs) based on my bust measurement and height 158-164 cm and I cut the top without any corrections for height as I usually have to do - such a relief! The pieces barely fit my narrow fabric and I had to make the neckband out of two pieces, as I didn't want to shorten the sleeves or the body and there was just not enough fabric to spare for the band. My only modification to the pattern - I made the neckband higher. I've never been a fan of turtle neck sweaters, but I like the high neck on this one and I think it fits the overall style of this long sleeve.

Pattern: Free T-shirt by Grasser
Size: 40 height 158-164 cm
Fabric: brushed double knit, cotton, 62 cm
Thread: black polyester
Time to make: 1 day


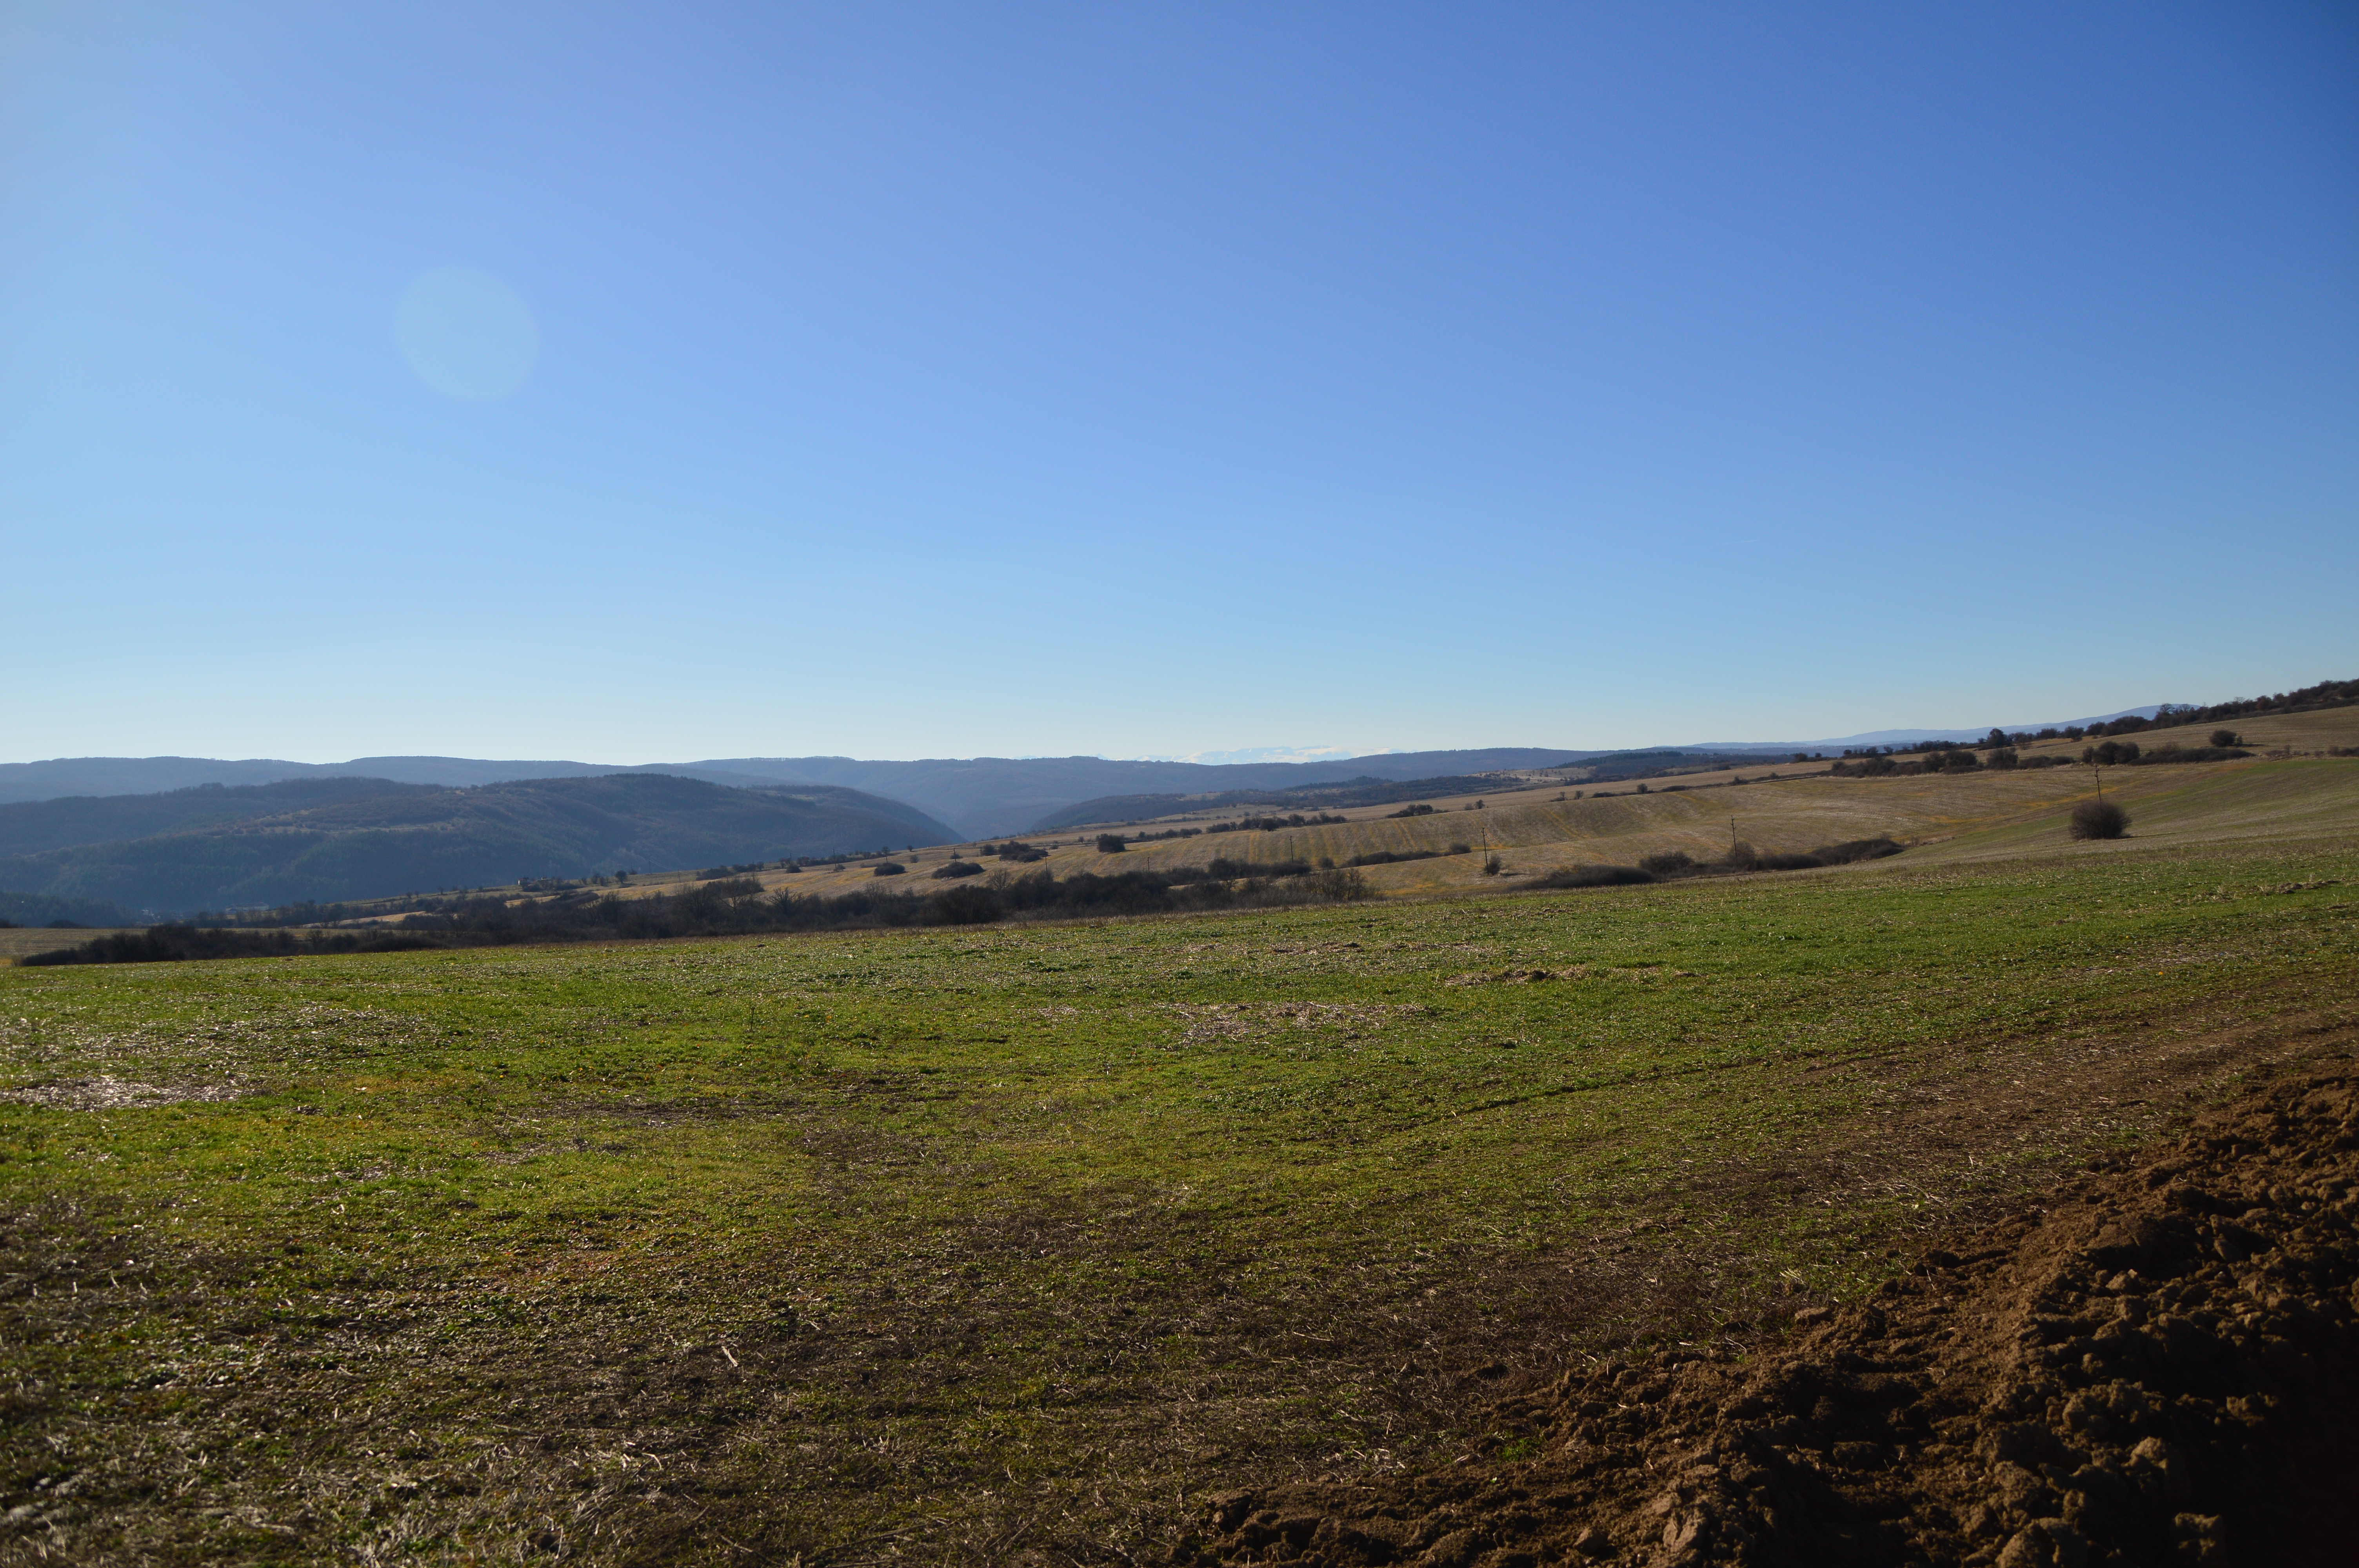
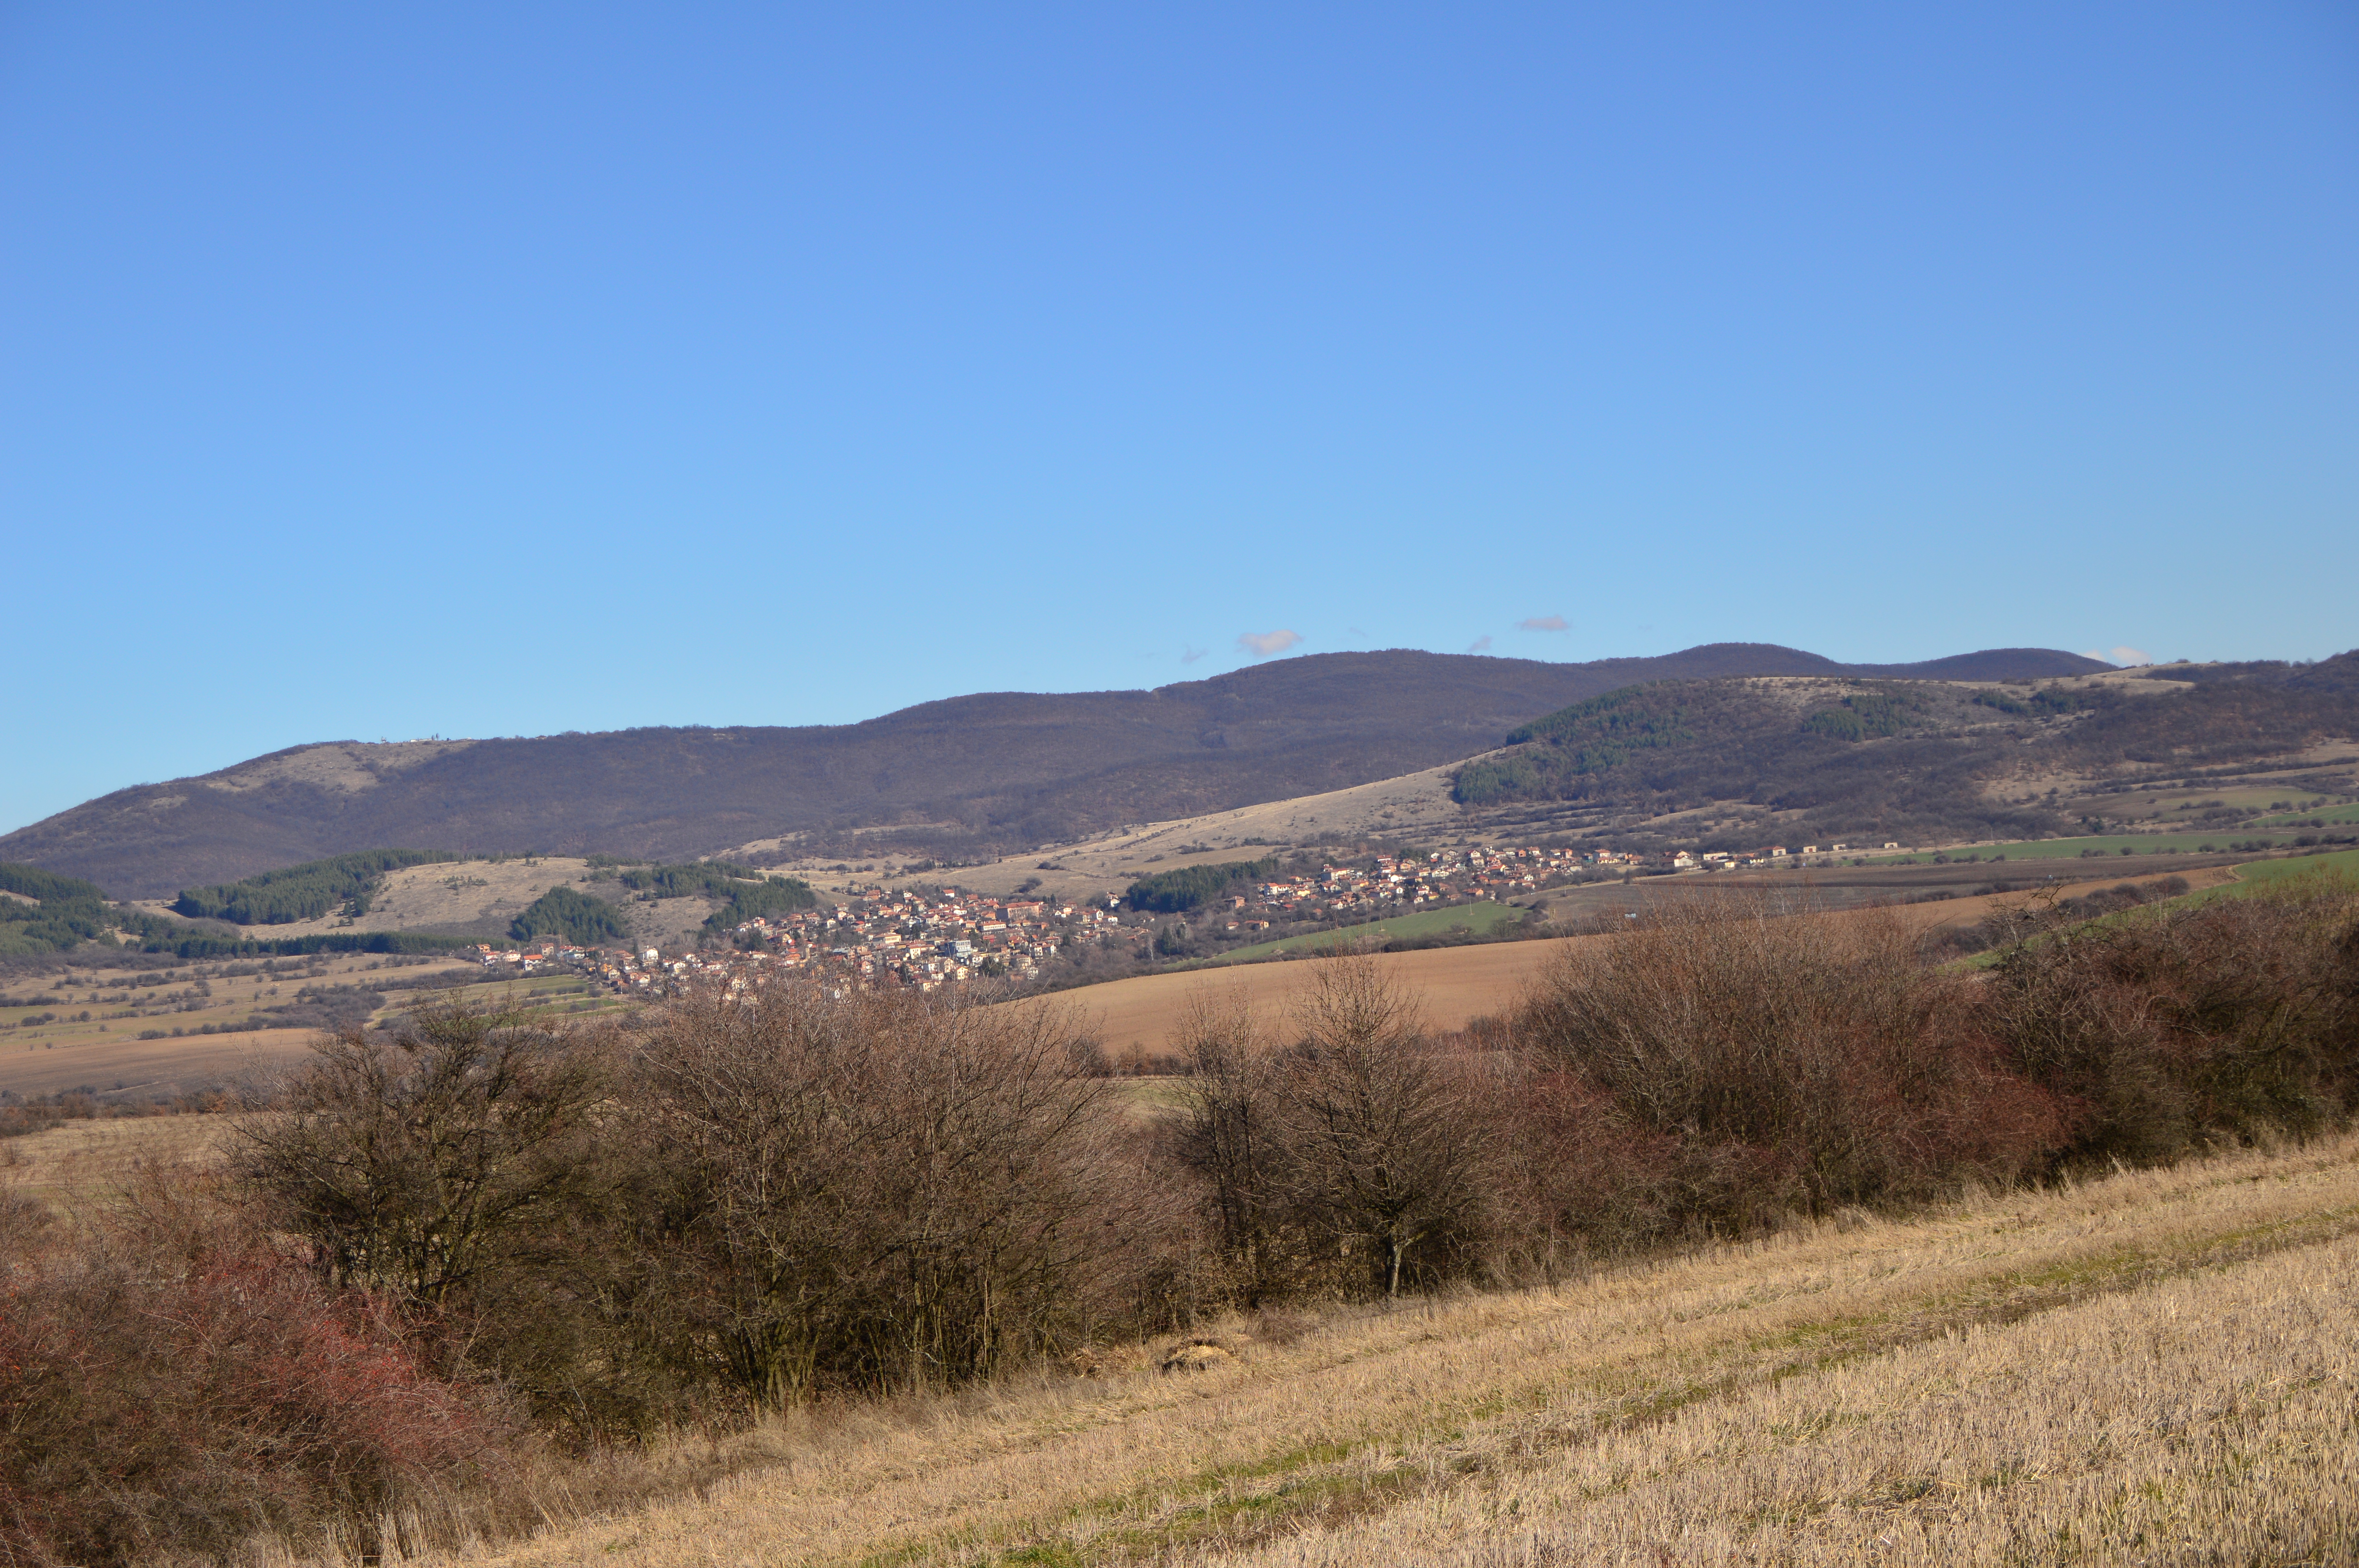
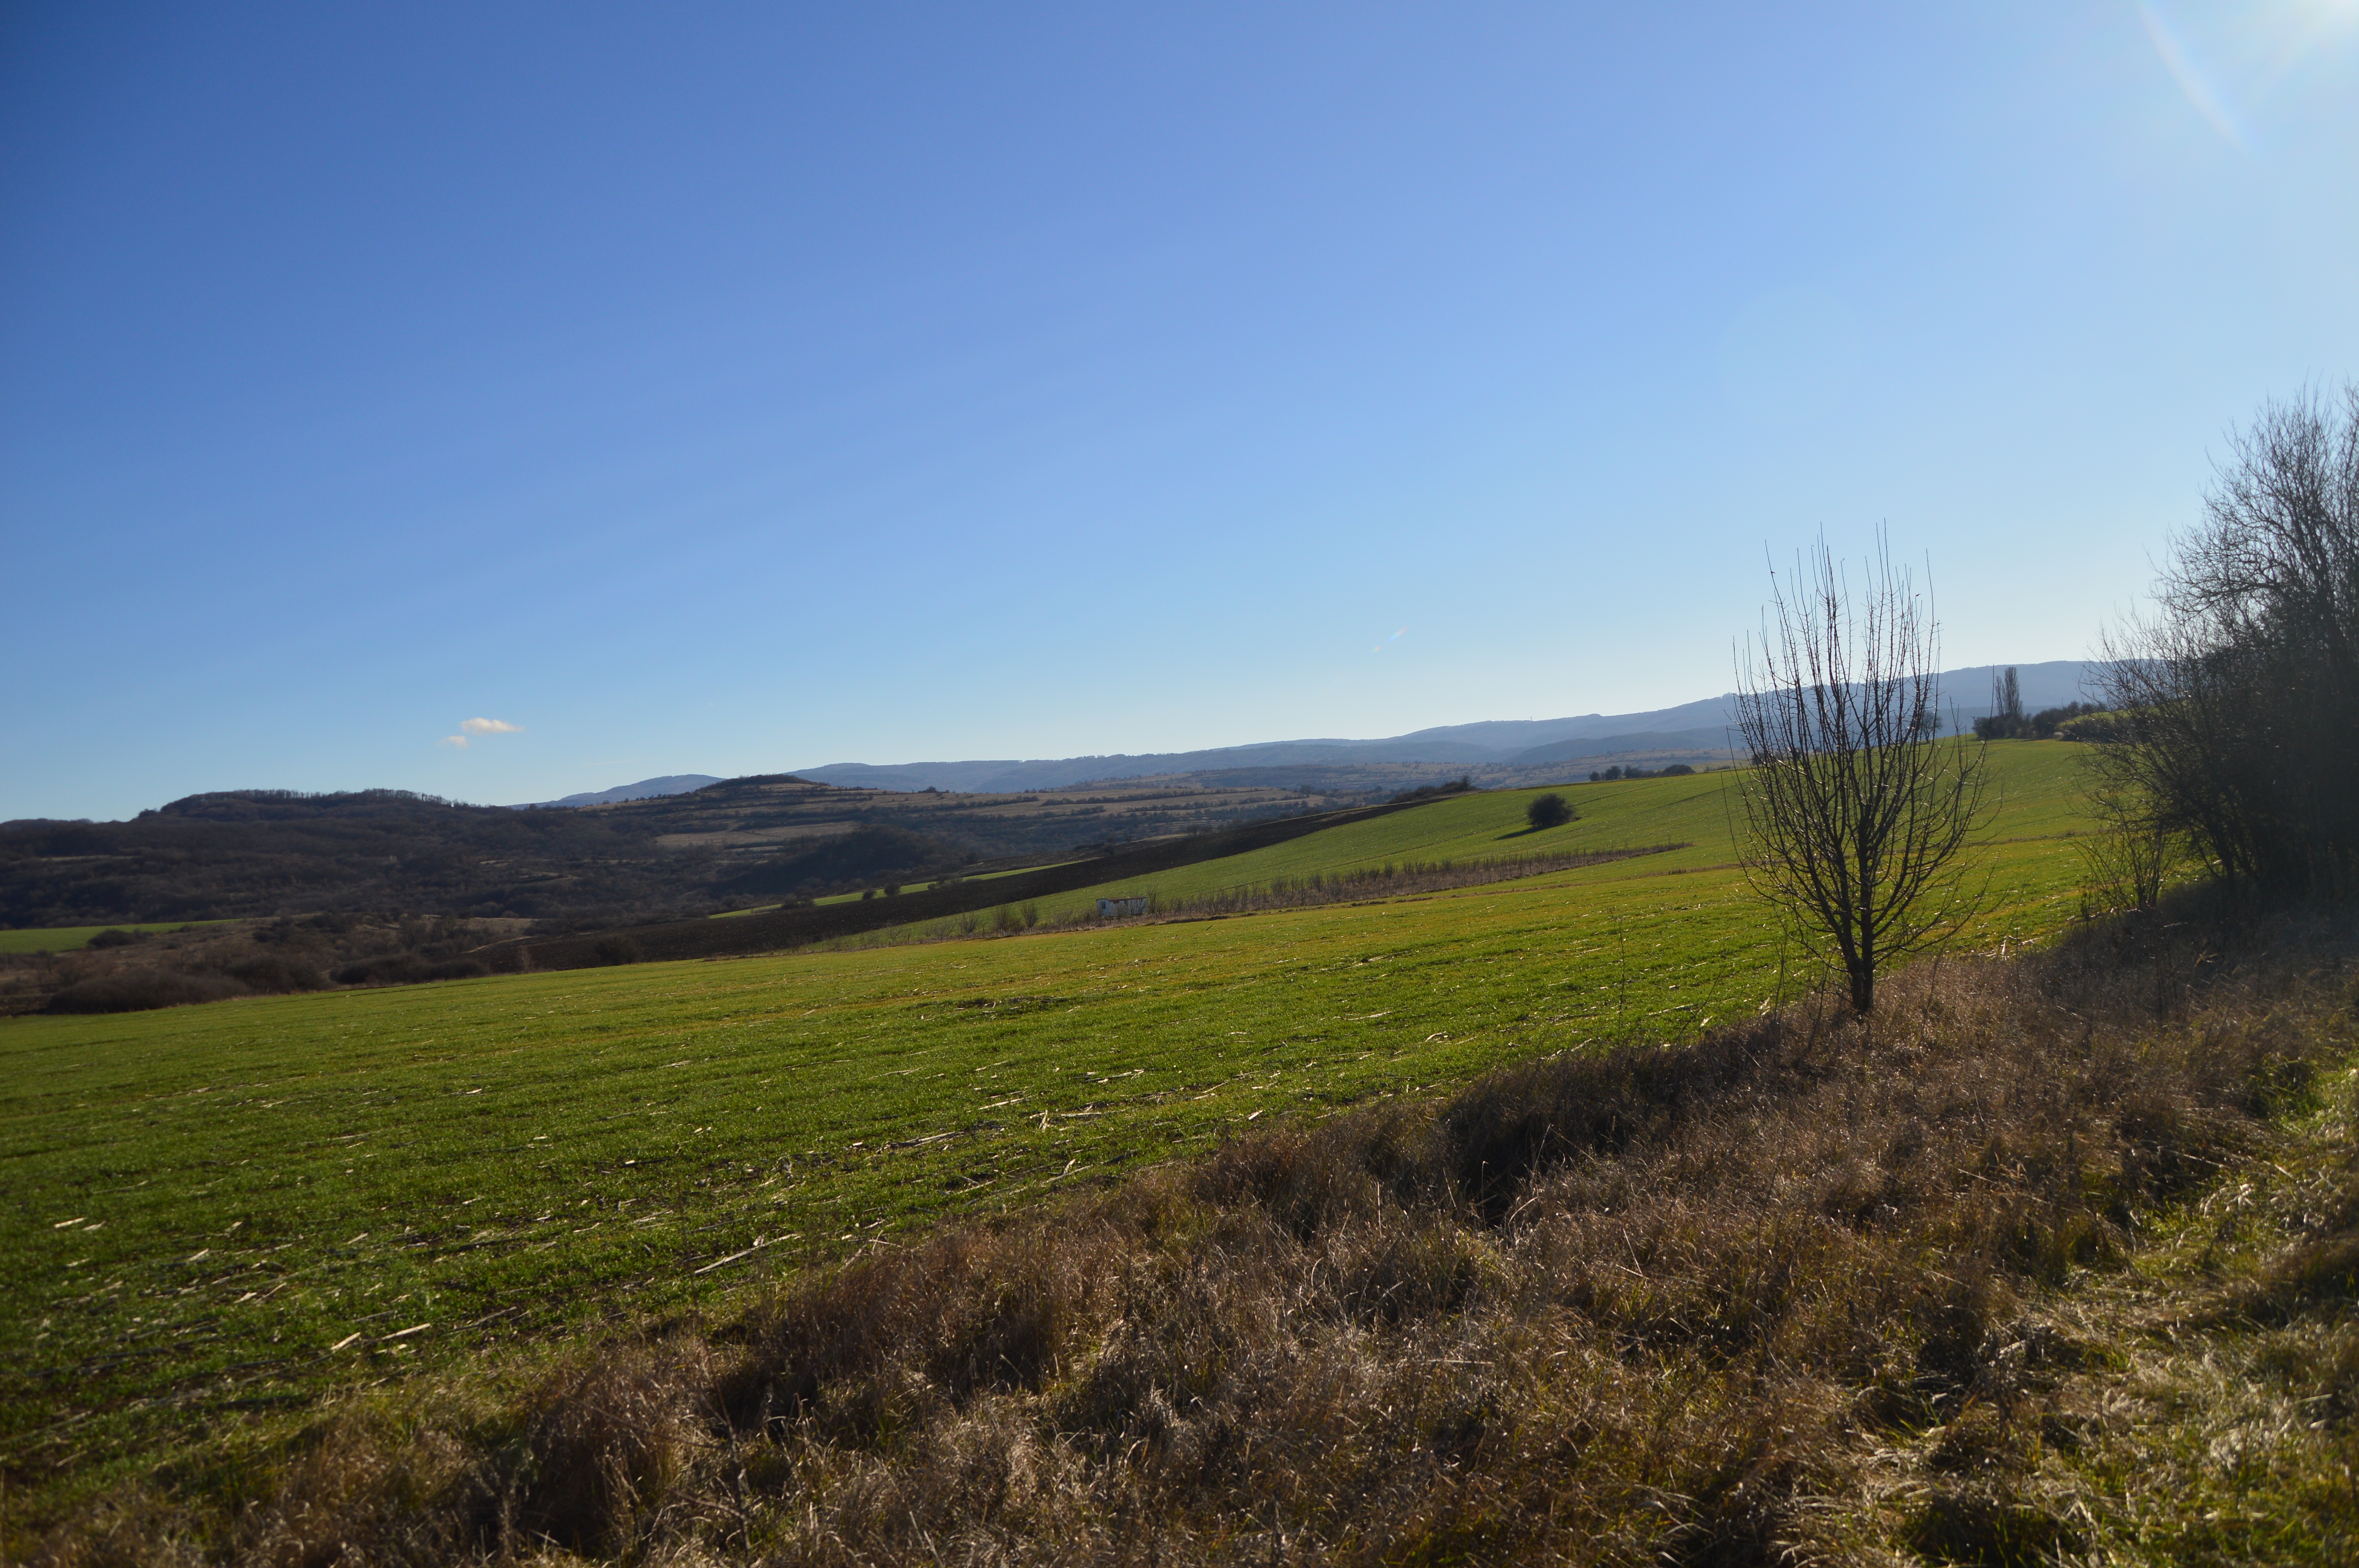
Pictures from my phone from our walk through the center of the city today on a bleak January Sunday.

Sunday, January 24, 2021

Teal Boatneck Tee

The third of the blouses I made out of the big piece of double knit teal fabric - a boat neck tee for me. I drafted this t-shirt in October, using my favourite simple Shkatulka tee

The new teal blouse is almost identical to that brick one I made last year, which I gifted to Gaby. The only difference is that I shortened the length by 2 cm and the sleeves - I added cuffs with buttons and real buttonholes.

 
I came up with the idea for the cuffs out of necessity - I didn't have enough fabric for full length sleeves and I did want 3/4 sleeves. I could have gotten away with simple 4-5 cm cuffs, but I remembered a set of 6 black buttons which I bought recently and decided to add them to the T-shirt for some interest.


I couldn't have just added the buttons without making them operational, where's the fun in that - so real buttonholes. I also made the cuffs symmetrical, so that both cuffs are closing away from the body - a detail I hadn't thought through initially. But when I finished the sleeves and looked at myself in the mirror, I realized that the rules for male and female button closure do not apply to sleeve cuffs - they have to be symmetrical, to reflect the symmetry of the body. So I had to unpick the left cuff and redo it the other way.

Pattern: Shkatulka Fitted Tee, modified with boat neck and long sleeves with cuffs
Size: Russian 42 (EU 36, S)
Fabric: double knit
Thread: black polyester (overlocker), teal polyester (Elna)
Time to make: 2 days 


My favourite part of the tee - the boat neck. In my notes in October I described in detail how I made the neck and this time I simply followed my notes - it saved me so much mind wrecking! Otherwise I always wonder which part where goes first :)

All in all, a very nice simple blouse, which was ideal for today's walk in the park under the warm January sun - we had a very rare pleasant and warm sunny day here in Sofia. 

And the snowdrops in front of our building are already in bloom!


Thursday, January 21, 2021

Picasso Top

Out of the remnants of the teal double knit I made Burda 111 from 04 / 2014 - a very unusual and original design, which is extremely popular on the Russian Burda site and has been made more than a hundred times (blouse and dress combined). 

I first saw this top on Carolyn's blog a few years ago and was immediately intrigued by it, as it looked different than the usual longsleeve knit blouses and kind of sophisticated. So when I was purchasing Burda knit top patterns last year, this pattern was the first on my list. 

For two months now I've been planning to make it and I was just waiting for the right fabric to try it - drapey and stretchy enough and not too expensive for a trial garment. So this teal double knit was just the perfect choice.


The construction of the blouse is quite unorthodox, it looks a bit like a design by Picasso :). The body is cut on the fold, with only one seam at the right side. The right sleeve is attached to the shoulder as usual, while the left sleeve is constructed without a sleeve head and is attached to a straight opening, which is cut into the folded left side of the body. The cowl is a long narrow tube, which is left to fold freely on itself.

The making of the blouse was fairly easy. The only modifications to the pattern I made - my usual shortening to accommodate for my petite height - I shortened the body by 10 cm and the sleeves by 4 cm and as the sweater is wide and straight I chose the size according to my bust measurements - 34. 

I sewed the cowl with a french seam, as recommended and hemmed it with a narrow 1 cm hem. I attached the left sleeve on the overlocker and then added a narrow zigzag seam on the straight machine and the rest part of the blouse is as usual for knit tops - overlocker seams and double needle hems.

Size: 34
Fabric: polycotton, double knit
Thread: black polyester (overlocker), teal polyester (Elna)
Time to make: 2 days

So, my thoughts on this blouse. I don't like it and what is most important, I find it extremely uncomfortable to wear. The left sleeve keeps sliding down and the straight seam across my arm feels tight and keeps pulling into my arm when I move. The cowl is shapeless and unflattering and because of the pulling of the left sleeve the blouse keeps riding up and forming ugly folds across my chest. 

I consider my curiosity with this pattern satisfied for now, but I'm not keeping the blouse - there is too much nice fabric in it, so I plan to disassemble it and make another top out of it. Meanwhile I had enough fabric remnants after cutting this top and with the help of some pattern tetris I managed to squeeze a third blouse, which I finished last night. Hopefully, there will be a photosession of it soon.


Wednesday, January 20, 2021

Teal Men's Longsleeve

Last year before Christmas I bought a large piece of double knit fabric in teal color to make something for my husband. Apart from brick, teal is one of my most favourite colors and I am constantly drawn to it. If I'm not mistaken, this is the third piece of teal fabric I have bought from this fabric shop and definitely not the last. It's just that when I enter a shop the first items I see are those in burnt orange and teal and never beige (which is my husband's favourite :))

The inspiration for my make was a men's longsleeve with front neck button placket. I recently acquired the men's and women's Movie Night Pajamas by Sew a Little Seam and I thought the top was actually a pretty good match for the longsleeve loungewear for my husband I had in mind.

I have never made button plackets on knits before, but the pattern provides very detailed verbal and pictorial instructions that are absolutely fool proof. I am very happy with the way my button placket turned out, exactly as I had expected it.

The fabric that I used is a polycotton blend in double knit, very soft and pleasant to wear. However, it is a nightmare to sew with the straight machine - probably because of its ribbed structure. I had to redo and redo the double needle hem, as the needle kept skipping stitches and tearing the thread and in the end the only remedy was to sew through a thin piece of paper.

Although the color on the pictures looks plain blue, in real life it is much closer to the small inspiration picture.

As the width of the fabric was about 2.20 m, I had plenty of remnant fabric for two more blouses. Alex declined my proposal for a matching longsleeve, so I made myself one and I'm in the process of finishing a second blouse.

Size: LG
Fabric: double knit, polycotton
Thread: black polyester (overlocker), teal (Elna 2300)
Time to make: 2 days


Monday, January 18, 2021

Persimmons

Recently, since the big supermarket chains began importing them at reasonable prices, persimmons have become one of my most favourite fruits. Persimmons, per se, are not exotic in Bulgaria, where they are commonly grown in a lot of villages, especially in the southern parts of the country. However, the varieties I had tasted in the past, were rather astringent and not very sweet and I used to stay away from buying them at the market. But the varieties sold at Lidl and other supermarkets turned to be very delicious and sweet, without the astringent character I had been used to. However, they are usually seedless.

So, our surprise was quite genuine, when I brought a bag of persimmons from a local market and they had these big shiny brown seeds within. I goggled germinating persimmons and found a number of youtube videos. I was intrigued and decided to give it a try.

The process is very simple - after the seeds are removed from the fruit and cleaned, they are placed on a kitchen paper and sprinkled with water.

Then the paper with the seeds is placed in a tightly closed plastic bag and left in a dark place for about a month. No other care is required, the water in the paper is enough to activate the germination and the tight seal prevents the evaporation.

I prepared four bags with about 5-6 seeds each and left them for at least a month and a half. Some germinated, some grew mold and some remained unaffected. I selected the bag with the best developing seeds, two of which had started to grow leaves, and placed them in a pot with fresh soil.


I placed the pot near the central heating radiator next to a south facing window, with plenty of light, warmth and water, but for two weeks since I planted them, my persimmons have not started to grow - they are still alive, but in a sort of stasis. To be honest, I was just curious to see if the seeds would germinate, following these instructions, I'm not particularly keen on growing a persimmon tree :) We'll see what will come of these suckers soon.


Friday, January 15, 2021

Plaid Pinafore

Like so many seamstresses, I was very impressed by the styling and fashion choices in The Queen's Gambit and I've decided that I need more 60s vibe feminine clothes in my wardrobe. Not that I have many places to dress up for - today's dress up, apart from the photo session, was for the weekly shopping in the local Lidl :))) But if I worked in an office, I would definitely wear that pinafore dress to work.

The pattern is from Shkatulka, a sleeveless dress pattern in Russian, which comes free for my size 42 (the smallest available). The dress features semi-full skirt, princess seams and wrap top. The pattern includes facing pieces for the lapels and the collar, but once I cut the fabric, I realized that my wool plaid was too coarse and itchy, so I drafted additional lining pieces for the top and the skirt and made the pinafore fully lined.

Size: 42, shortened in height by 1 cm (top) and 7 cm (skirt)
Fabric: plaid, 100% wool; black cotton voile, 100% cotton (for the lining)
Thread: polyester, black and brown
Time to make: one week

The dress closes with a 30 cm side zipper. Because of the lined wrap top, I was very hezitant to install an invisible zipper - there was no possibility to insert the zipper between the outer and the lining, as they were sewn together because of the wrap. So I opted for an exposed zipper - I think it's OK, though I'm a big fan of invisible zippers.

I had only 1.2 m of this wool plaid, which I bought decades ago and I had to squeeze a semi-full skirt and a wrap top with lapels and facings, so some compromises had to be made with the pattern matching and especially the symmetry at the back. But I knew that from the very start and I made a deal with my perfectionist self to deal with it and not think about it twice. I managed to match the horizontal lines of all those princess seams, so that should be good enough :))

I am especially proud of the lapels - my first ever! The Shkatulka instructions were very sketchy and I was not quite sure I liked the proposed order of constructing the top, so I googled Youtube. I highly recommend Diane Deziel's tutorial - as always she's the best and made the daunting lapels fairly easy to make!

Another problem I had to deal with was the construction of the lining - the facing of the lapels was only partially equal to the outer front lapels, so to avoid constructing the facing of the fronts out of partial front lapel plus the side front part, I drew a new side panel, which incorporated both parts and I think it worked! I'm still curious how was I supposed to add the side zipper, given that in order to add the skirt to the top I had to fix the wrap, as a result of which the lining and the outer of the top became inseparable. I'd be curious to know how this is done in the industry, I'm sure there are some professional tricks, but I couldn't find a Youtube tutorial, though I searched extensively.

All in all, I'm quite pleased with my 60s style plaid pinafore. If I ever decide to repeat the pattern, I'll have to figure out how to make it a bit more fitted at the bust, but otherwise the fit is acceptable and I was happy to walk the aisles of Lidl today dressed prettily :)


Friday, January 8, 2021

Cowl Neck Top

Several very awkward flat pictures of a top I managed to make for Gaby at the end of 2020. It is a sort of a Frankenstein of ideas and pieces I borrowed from various patterns and with some minor issues it did turn out fairly nicely.

The basis for the top is my true and tried basic Shkatulka short sleeve top, which I have used for a number of modifications now, as I know how it fits us both. The inspiration for this top came from a video by Stitched up!, one of my favourite sewing vloggers. I followed the instructions word for word and I think they are quite legit, however the neck opening of the starting pattern should be much wider than that of the Shkatulka top. For the cowl neck to drape beautifully it needs width at the neck, so a closed up crew neck is not a good option. Тhis is my only issue with the resulting top - the cowl does not drape enough, it is more similar to a boat neck. Next time I will start from a scoop neck; we live to learn :)

The original Shkatulka has a simple short sleeve and I wanted bishop sleeves, so I took the sleeves of another top I made this year - blouse 101 from Burda 03 / 2020. For this purpose I constructed a new sleeve with the cap of the Shatulka, continuing into the bishop sleeve of the Burda blouse, but shortened and attached to a sleeve cuff.

The side gathering of the blouse was an inspiration from another Burda pattern I bought, but I still haven't made - blouse 103 from Burda 08 / 2020. For the gathering I used black elastic thread in the lower bobbin of the sewing machine and I am truly happy with how it all came out.

Gaby wore the blouse on New Year's eve in combination with the plaid pleated skirt I made for her and I think she looked gorgeous. Pity we couldn't take any nice modeled pictures - before we knew it time flew and she had to catch her plane back to Prague, so I had to quickly take a few flat photos of the blouse literally a couple of hours before her departure.

And another flat picture - my first finished sewing project for 2021. I had plenty of the french terry with the butterflies, so I made another pajama top. This is the same pattern and almost the same top as the pajamas I made at the end of December, the only difference is the shorter sleeve cuffs and the added bottom cuff - I actually like this version better than the first. And I love to use up all of the fabric. Now that I am through with this french terry, I can move on to something new and more exiting. I actually just cut it, but more about it next time :)


Wednesday, January 6, 2021

Vali's Hat

My first finished knitting project for 2021 - a hat for Gaby's boyfriend.

I am quite conscious of the fact that not everybody likes handmade items and I really try not to foist my knitting and sewing on others, especially people outside my immediate family. Even if I might regard a handmade by me object precious, especially considering the time, effort and supplies it might have taken me to make it, for an indifferent person it could quite possibly be just an item not much to their liking and that's OK.

Still, I wanted to make a small present for Vali for this past Christmas and New Year to express my (our) appreciation and regard. So I made him a simple knitted hat, nothing too fancy and intrusive, plain black asphalt color, 1x1 rib and just a touch of orange for some interest and individuality.

The yarn is Italian bobbin 100% merino, 320 m / 100 g, very soft and squishy. I cast on 136 sts on 4 mm needles and knitted a long tube until I reached the crown. Then I experimented with the crown - first I made it with a long deep crown, but Gaby did not approve it; then I tried the squared method, but I did not like it and I finally made the crown shorter and more rounded with 17 decreases per round every other round and I think I nailed it. The hat is fully reversible and can be worn long and slouchy or beanie-like with a folded brim.

Gaby sent me a selfie of them both today, wearing hats, made by me and they looked so cute and happy, my heart melted :)

Pattern: Vali's hat (personal design)
Yarn: Zegna Baruffa Cashwool, 100% merino, 320 m / 100g, 70 g
Needle: 4 mm
Time to make: one week


Monday, January 4, 2021

Baylovo 2021

Our first hike for the year 2021. It is hard to believe this is the 2nd of January - the sky is blue and cloudless, the temperatures well above zero (probably in the tens Celsius) and the fields of crops are already green. To be honest, I don't know if these crops are supposed to be that grown and what happens when the inevitable snow and cold come during the remaining winter months.

The trail, which we take from the village of Baylovo, is not our typical mountain trail, as there are no mountains in this part of the land, just heights, hills and fields. This is a part of the large Sofia valley, enclosed between the Balkans to the north and the numerous smaller mountains on the other sides. We usually start from the center of the village and walk along the road, which connects Baylovo to the nearby village of Golema Rakovitza. At some point we take the path between the fields, which leads to the St Spas Chapel on top of the local height, called Spasova Mogila. There we have our picnic with a gorgeous view from the top to the fields, Vitosha in the distance and Rila in the farther distance. Then we go down Spasova Mogila, descending from its southern side, walk through the fields of Golema Rakovitza until we come back to the connecting road and finish the circle along the road back to Baylovo - a 10.5 km easy hike through hills and fields, which feels very energizing with its down to earth vibe. We love it here!!!

:The preparation of the land has already started on the second day of the new year

:A hawk in the sky

:The winding path between the fields

:This time we were accompanied by Alex, of his own volition, which pleasantly surprised us :)
Hike info:
Destination: St Spas Chapel
Mountain: Spasova Mogila
Total length: 10.5 km
Elevation gain: 80 m
Total duration (plus rest): 2 h 30 min
Average difficulty: 2 / 10 

Me-made items, worn on this hike:
 
Husband: boxers, hat
I: lingerie, socks, hat, my orange Cabled top, green gloves in the backpack
Alex: hat

:The village of Baylovo in the distance

:St Spas Chapel on top of the height


:The white cap of Vitosha in the distance

:The chapel as seen from the southern side of the hill

:Walking towards Golema Rakovitza


:Windows XP Wallpaper scenery :)


:Late lonely apple by the road