Showing posts with label cable. Show all posts

Wednesday, February 1, 2017

Three New Hats


This past January was the coldest of all Januaries for the past 53 years in Bulgaria, so I spent it knitting hats with polar fleece.
The Red Pome is for my friend to whom I gifted the red Shells & Tide shawl. It's the same color, though the camera might make it look different.


Pattern: Red Pome (based on a chart from Internet)
Yarn: Alize Lanagold 56, 100g
Needle: 3.5 mm, 4 mm
Time to knit: 4 days


Rib - 100 stitches, 22 rows 2x2, increased to 120 sts for the body - 10 chart repeats of 12 sts each.
36 rows of body, 12 rows of crown decreases.


The hat follows the measurements I used for Gaby's purple hat and has a polar fleece inside for extra warmth.


The second hat is a repetition of Gaby's Rigsby for a friend - she asked for the same pattern and the same color, so nothing new here.


Pattern: Rigsby Pom Pom Beanie
Yarn: Alize Lanagold 111, 100 g
Needle: 3.5 mm, 4 mm
Time to knit: 4 days


The third hat is for me - a black cabled beanie with an ecofur pom pom.


Pattern: 12-sts Cabled Beanie
Yarn: Alize Lanagold 60, 100 g
Needle: 3.5 mm, 4 mm
Time to knit:  3 days


Rib - 98 sts 1x1 for 20 rows, incr. to 144 sts - 12 cables of 12 sts for 36 rows,
12 rows of crown decreases. I made a polar fleece for this hat too, but I haven't attached it yet, as the stitch pattern is quite dense and the hat is pretty warm as it is, as was tested during our hike on Saturday.


Sunday, January 17, 2016

The Phi Hat


Project Name: The Phi Hat (personal project)
Yarn: Alize Lanagold Solids, 100 g / 240 m
Needle: 3.5 mm rib, 4 mm body
Time to knit: one week (?!)
I knit a new hat for Gaby and I am very pleased with how it turned out. I wanted to make a slouchy hat, that could be worn as a beanie with double brim for greater warmth in cold days. I searched for inspiration on Ravelry, browsing through aran sweaters and one of the cables on Fulmar sweater caught my eye. Later that day I browsed the blog of one of the best designers of accessories - Olga and came upon a hat with a similar cable. It might have been serendipity, or rather - my mind was already working the Fulmar cable and Olga's hat was the nudge I needed.


I sampled the cable, made my calculations and cast on the hat. My first attempt was a bit too tight and I was not sure if the yarn would be sufficient, so I started the hat anew, trying to knit the rib not so tightly and adding one more purl stitch to each cable figure for greater volume around the head.

And that's my Phi hat: worn slouchy ...


or as a beanie with double brim:


Wednesday, November 26, 2014

Cocoa Biscuits with Almond Core


Easy and unexpectedly super delicious cocoa biscuits I baked today.
Based on a recipe in Eva Toneva's blog:

Ingredients:
  • 125 g butter
  • 100 g powdered sugar (the original said 50 g, seemed too little, however mine are a bit on the very sweet side, 75 g could be the golden mean)
  • 120 g corn farina
  • 40 g wheat flour
  • 25 g cocoa powder
  • 50 g roasted almonds


Beat the butter into a cream, add the dry ingredients and mix into soft dough.


Divide the dough in half and spread into two wicks, about an inch in diameter. Cut each dough wick into into 16 -18 pieces, put an almond into the middle of the piece and roll in a ball.


Place the balls on a tin, covered with baking paper and bake in a preheated oven at 180 C for 15 min.


While hot, the biscuits are too soft, but when they cool, they harden and keep form. Spread them with powdered sugar and enjoy with your morning coffee.


These biscuits are easy and quick to make and surprisingly delicious - they are crunchy, yet they melt in the mouth with a sweet cocoa taste, and the almond is the perfect finish to the bite.


However be aware - while munching my fourth little delight I made a quick mental calculation, that almost had me choking - every single biscuit is about 70 kcal, so ... consume moderately :))))


And a quick update on my husbands cardigan (The color is off, as usual - it's dark burgundy-brown, not bright red!, but my camera is obviously color-blind. Huge disappointment, Olympus!) The good news - I'm totally in love with the cable pattern I came up with after much swatching and drawing. The bad news - despite all that swatching and calculating, the front is too narrow and I had to start all over again. The risk with large gauge - I'm only 4 stitches off in my calculations, but 4 stitches equal an inch and two fronts mean two inches less width - a whole size down and hubby wants the cardigan wide enough.
I mean, I saw this coming after I finished the first diamond, but I thought I would compensate with the button bands. I suppose I just wasn't ready to face the truth - if I wanted this to work right, I had to start over. So, I continued doggedly until last night, when I reached the underarms, basted the front and the back and tried it on hubby - too narrow and to compensate I had to make the button-bands ridiculously wide. Well, all that was left to do was to swallow my disappointment and cast anew :((


Wednesday, November 6, 2013

Düsseldorf Aran - The Sleeves


I finished my Düsseldorf Aran sweater this morning - in less than ten days :). While it is still wet blocking, a few words on the modifications I made.
The designer Fiona Ellis is becoming one of my most favourite designers with her beautiful feminine intricately cabled sweaters - I want to knit at least two or three more of her designs. However, there were a few features of Düsseldorf Aran that I did not appreciate much when browsing through the Ravelry project pages for this sweater - the seed stitch edging and neckband, which I replaced with 2x2 rib, but most of all - the sleeves.
First - too loose and baggy for this delicate pattern and then the pleat, although very original, looked unsightly bumpy even on the magazine photos. So I changed the pattern of the pleat, replacing it with this fan-like feature:


Tips for the sleeve (size s). My gauge is the same as in the pattern, but on 4 mm needles.
1) Cast on 74 sts.
2) Knit (k2p2)4 (k2p8)4 (k2p2)4 k2 for 4 rows
3) Continue 14 sts in St st, p2, (k2, p2tog, p7)4 times k2 p2, 14 sts in St st
4) Decrease 1 purl st in the four pleats every 4th row until 2 sts remain.
5) Knit 14 sts in St st, (p2k2)5 times, p2, 14 sts in St st. for 4 rows (50 sts)
6) Continue with row 1 of the cable chart, keeping the knit stitches as knit and the purl stitches as purl. For this purpose you have to cross twice two couples of knits and purls, always crossing the purls behind the knits. For the central 4-st cable increase two stitches in the 2 knit stitch column to form the four-stitch cable.

Continue to knit in pattern, meanwhile increasing 1 st on every side of the sleeve every 20th row for a total of 4 times (60 sts).

Cap:
Decrease every other row 1x3 sts, 1 x 2 sts, 2 x 1 st, every 4th row 6 x 1 st, every other row 1 x 1 st, 1 x 2 sts, 1 x 3 sts. Cast off the remaining sts.

The I-cords: Pick up 4 sts at the base of the crossing 2-stitch-knit columns - one stitch from the purl column, 2 stitches from the two knit-stitch-column and one stitch from the purl column. Knit a 25 cm I-cord.


Thus the I-cord piece looks like a continuation of the cable of the sleeve. Knit a symmetrical I-cord at the other side of the cable pattern.


Tie the I-cords into a butterfly:


P.S. Can you believe that the actual color of the sweater is dark pine green?! The wretched camera is absolutely color blind, drives me mad :))

Sunday, September 22, 2013

Carotina Fingerless Gloves


Pattern: Carotina Fingerless Gloves Free Download
Yarn: Alize Cashmira 100% merino, 50g
Needles: DPNs 3.5 mm
Time to knit: 3 days


Finally!, finally I'm finding a few spare hours to photoshoot and show you my new fingerless gloves. They came out very warm and comfortable and I'm pretty happy with them. I even wrote down the pattern and calculated it for bigger sizes too, because I know that my hands are smaller than the average women size. The pattern incorporates the twisted garter edging which I came upon last month - I think it matches nicely the entire pattern concept.


Friday, March 15, 2013

Spring Knitting


Although only last week I added a sweater-worth of pure wool yarn to my stash for a new cardigan, I don't feel like knitting winter sweaters or accessories any more.
I want spring, I feel like knitting cotton and bamboo and linen in lightweight lace clothes.
So - I resumed my blue cotton cardigan, which I cast on almost a year ago in June. The pattern is a free Japanese design by Pierrot. When I started this project there was only a Japanese version, but now Ravelry has a link to an English translation of the pattern too.
Because I seem to be the first person on Ravelry knitting this pattern, I decided to provide a detailed description of my modifications:
1) The pattern is a beautifully structured combination of lace and cables. However, I found that a purl stitch between the k3tog lace columns gives better structure and look to the knitting. So I've inserted a purl stitch where the red line is:
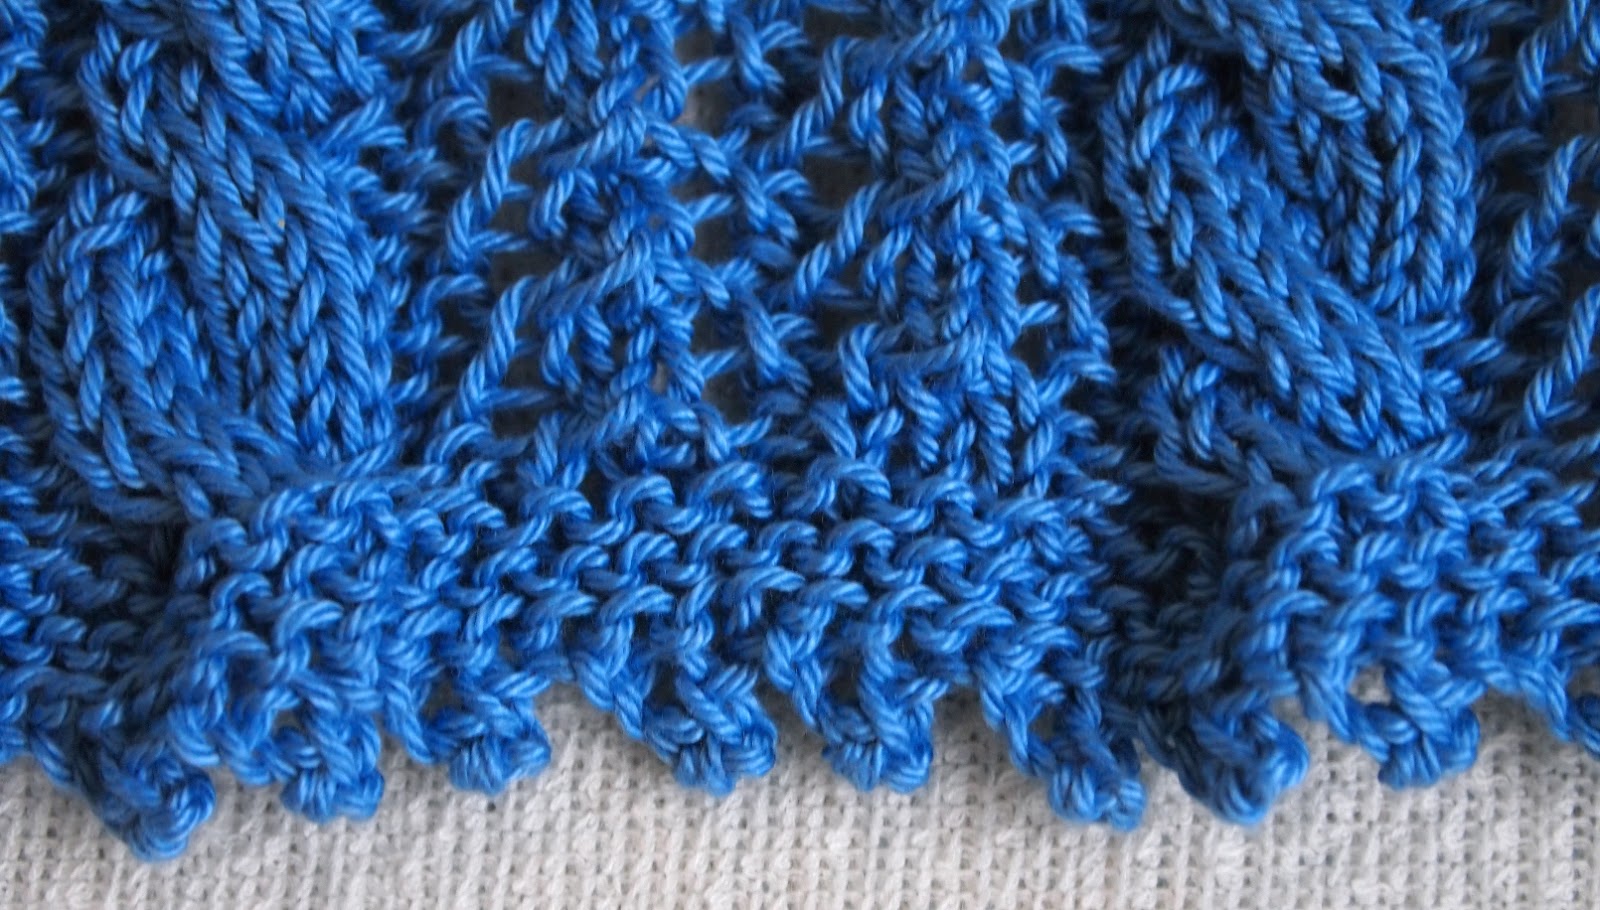
2) I also added a picot edging to my cast on stitches. It follows the basic principle of picot edging: cast on 5 sts, cast off 2, cast on 5 st, etc. Only, instead of cable cast on, which produces nice even triangle picots (which to me are kind of old-fashioned), I improvised a different cast on method, resulting in these little irregular knots. Just a peculiarity of mine, I have a thing for asymmetry and irregularity :)


3) I made the cardigan seamless, knitting together the two fronts, the back and the 6 sts button bands. And I also added some waist shaping in the side cables:


4) I left the back neckline stitches live instead of cast them off and then pick up stitches. However, to account for the different width of the cables, every 6 sts cable is treated as four stitches:


5) The front neckline is raised (about an inch or an inch and a half). The buttonholes are single stitch holes every 20 rows:


6) The sleeves are 3/4 in length and completely different from the description in the pattern.
I measured the desired width, increase and length and in stitches and rows it translated as follows:
cast on 67 sts, knit the garter stitch picot edging, begin pattern and increase 1 st on every side every 14th row to get 79 sts and 100 rows.
The sleeve cap is long 46 rows and the decreases are as follows:
BO 4 sts
2-2-1
2-1-4 (This reads "Decrease every 2nd row 1 stitch 4 times")
4-1-3
6-1-2
4-1-1
2-1-2
1-1-3
BO 27 sts.
Remember to treat 6-sts-cables as 4 sts - this means that when decreases are made within cables twice two sts are decreased and are treated as only one stitch decreased.


My yarn is Madame Tricot Camilla 100% mercerized Egyptian cotton (100 g = 250 m) and I'm knitting it on 3 mm (US 2 1/2) needles. I find ropy silk-shiny mercerized cotton just the perfect yarn for such heavily textured summer cardigans, so far I'm very pleased with my process. I'm aiming at an xs size for my daughter, with a total of 210 stitches cast on  for the body (11 cables).
As of now I've finished the body and one sleeve, so expect a FO photo session next week :)