
I made a case for my son's tablet. Here's a photo heavy tutorial I made during the process.
First, I took the measures of the tablet. I added 1.7 cm to the actual size all around for ease and then 5 mm for seam allowance. The ease was a mistake. Make the case without any ease, the wonking and wobbling of the tablet in the case is actually undesirable.

First outlined one quarter of the tablet, folded the sheet in four and cut to the shape, to make it symmetrical.

All of my materials are recycled. The only new materials I bought were the zipper and the bias tape.
For the inner lining I used this top. It fitted me badly and a few years ago I tried to modify it unsuccessfully. However the color - burnt orange, is my most favourite and I just couldn't throw it away. The fabric is very fine soft knit.

Cut two pieces of inner lining and wadding:

I basted the lining and the wadding together and sewed them in waffles:


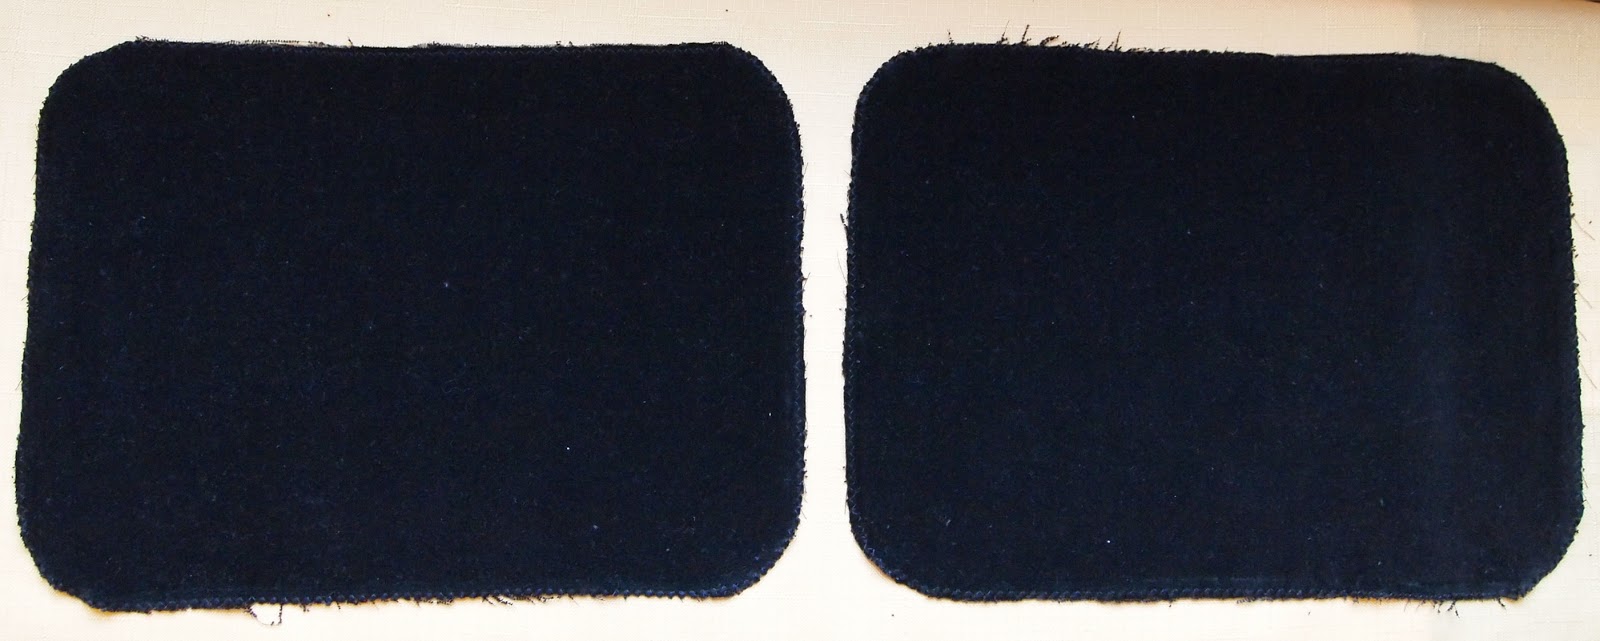
The outer fabric was also recycled from an ages old coat of my mother. She cut it shorter and gave me the cut piece to make it into a skirt or something. The fabric is cotton velvet, blackest black, which my camera finds impossible to shoot. For visibility I made the photos overexposed, therefore it seems blue (or brown):

Cut two pieces of front fabric and zigzagged the edges:
Cut two straps of the front fabric, as wide as the zipper and as long as the long side of the case:

Sewd the straps to the closed side of the zipper. For neatness I removed the metallic and plastic parts, closing the zipper at the ends. Because the zipper tape is man-made fabric, careful processing with a lighter helps to keep things neat:


For firmness I cut two insertions from an old file. Next time I won't use cardboard, but one more layer of wadding and fusible:

I zigzaged the inner and outer parts together and inserted the cardboard:

The two sides are ready:

Then I basted the zipper to measure exactly how long I needed it to be to make the back symmetrical. I cut the excess and melted the edges with a lighter:

Then sewed the other end of the velvet stripes to the open end of the zipper, thus closing the circle:

Basted the entire zipper and back to one of the sides of the case:

And carefully sewed it on the machine:

Then opened the bias tape and basted one of the edges to the edge of the side and sewed them:

Folded the bias tape and basted it:

One half is ready:

And then did the same with the other half:

Voila! The case is ready:

Not the best sewing performance, I'm afraid. Next time I'll do better :)))

And I'll try harder to find a double zipper. I tried, but there weren't any available in the required length in the local passemanterie shops:

Great case. You are clever.
ReplyDelete